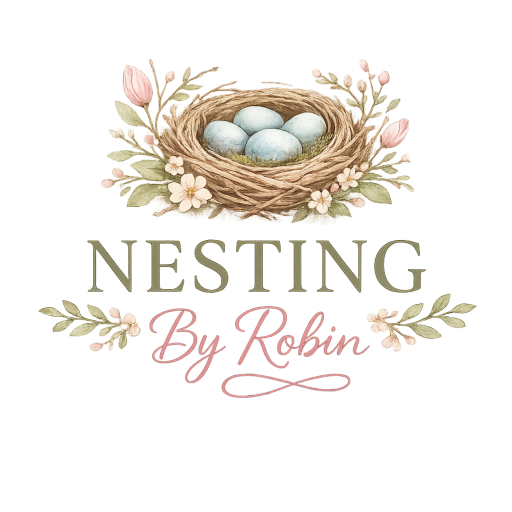
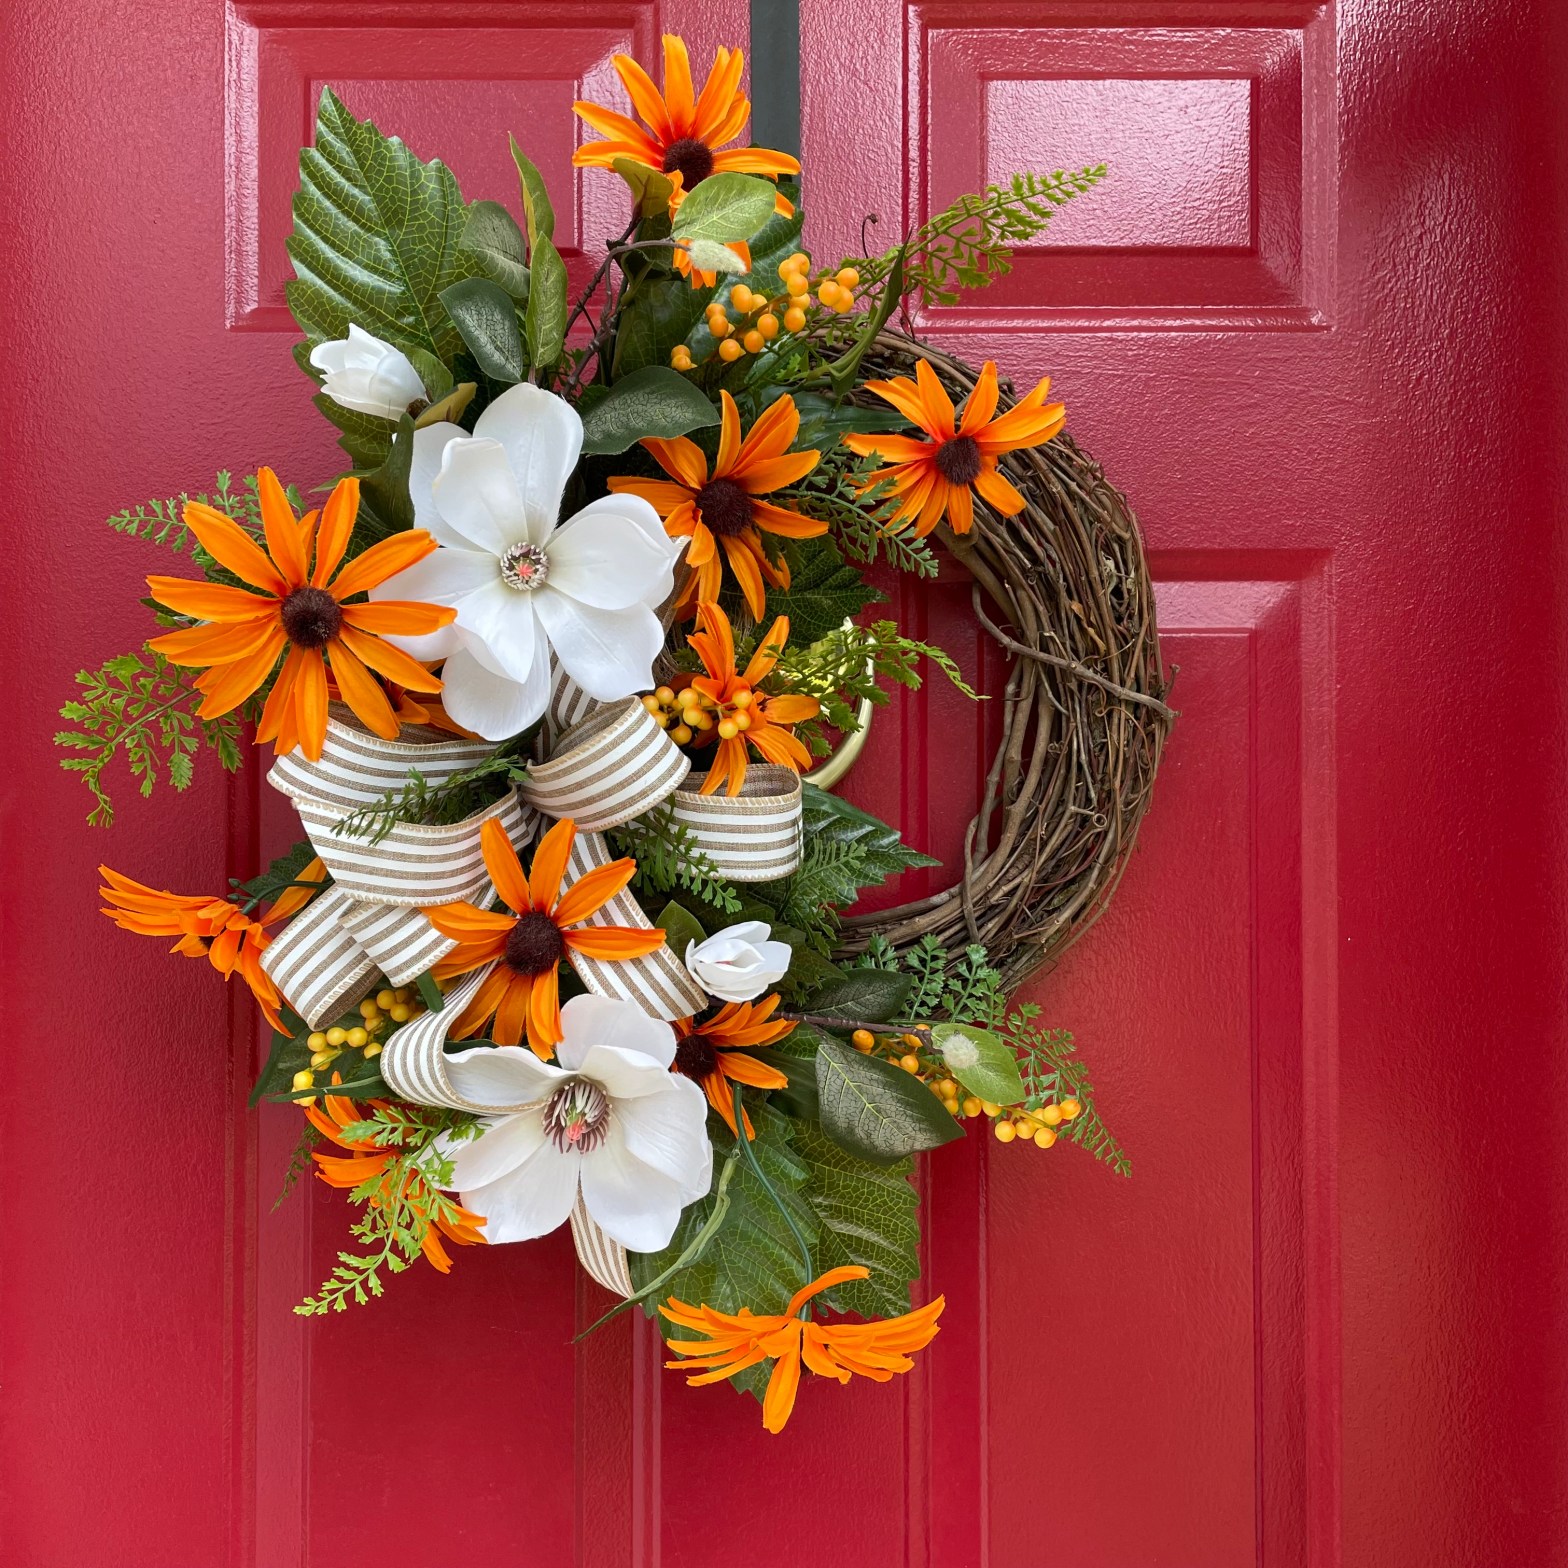
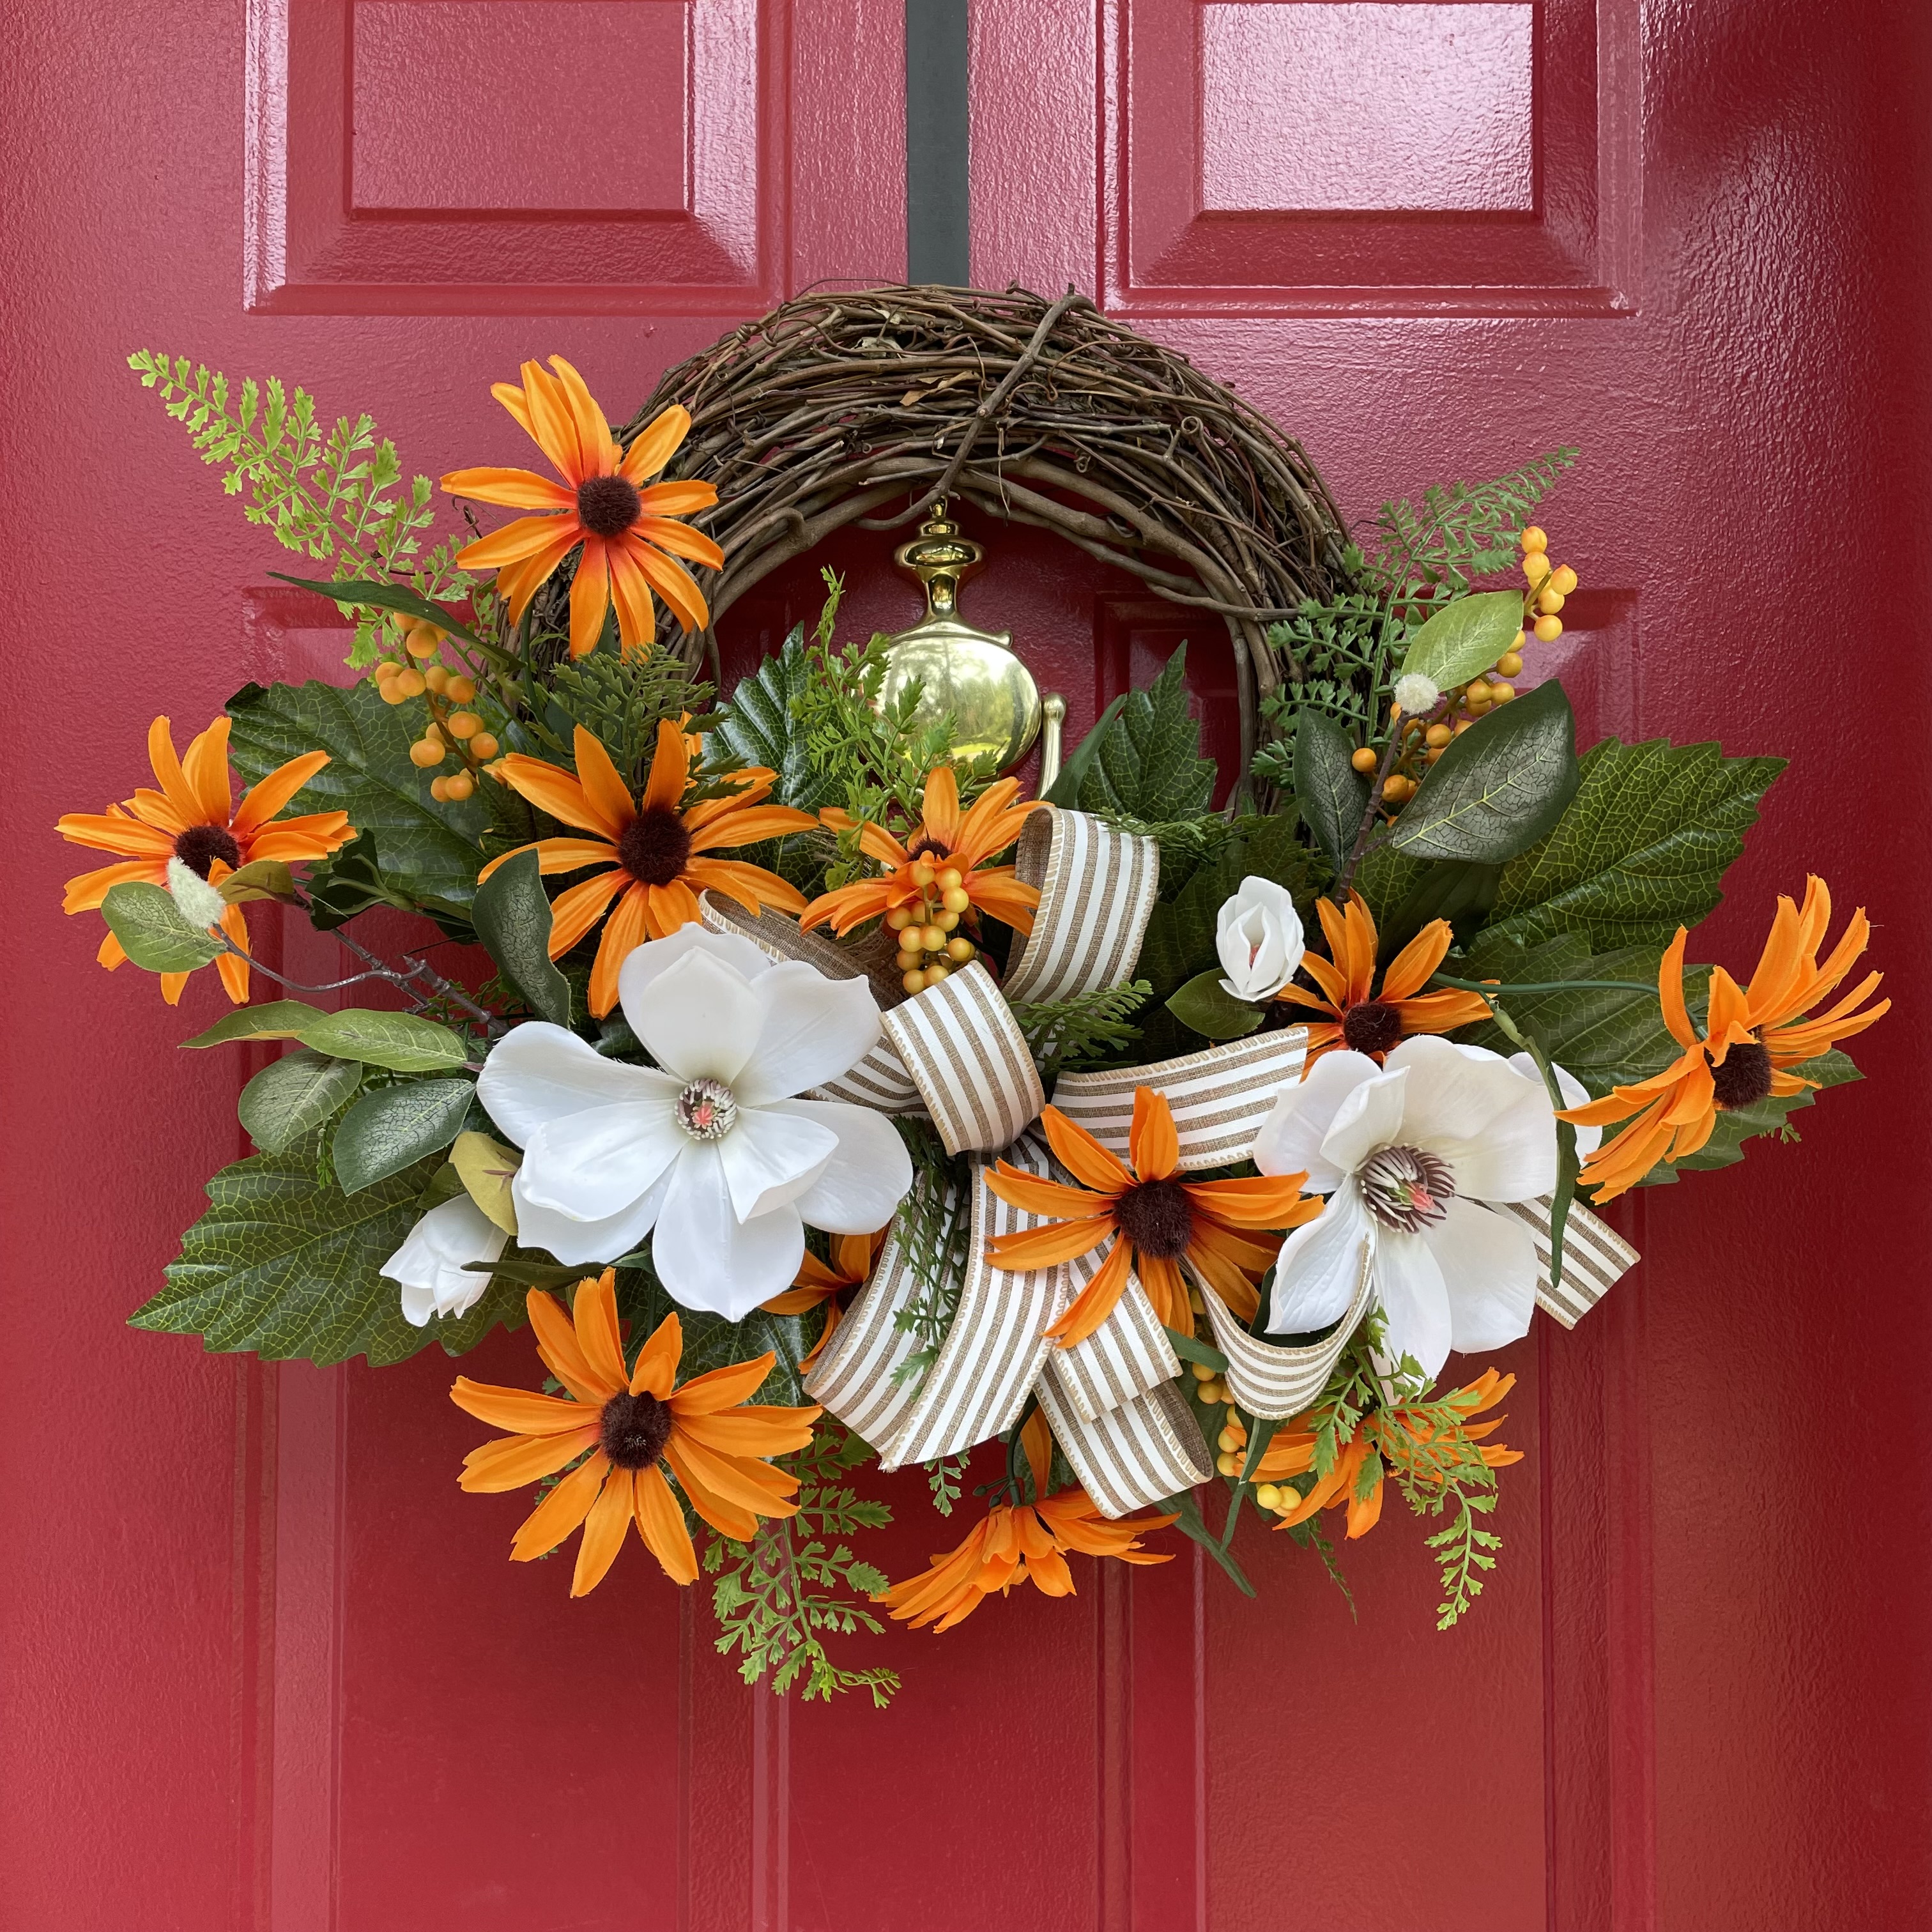
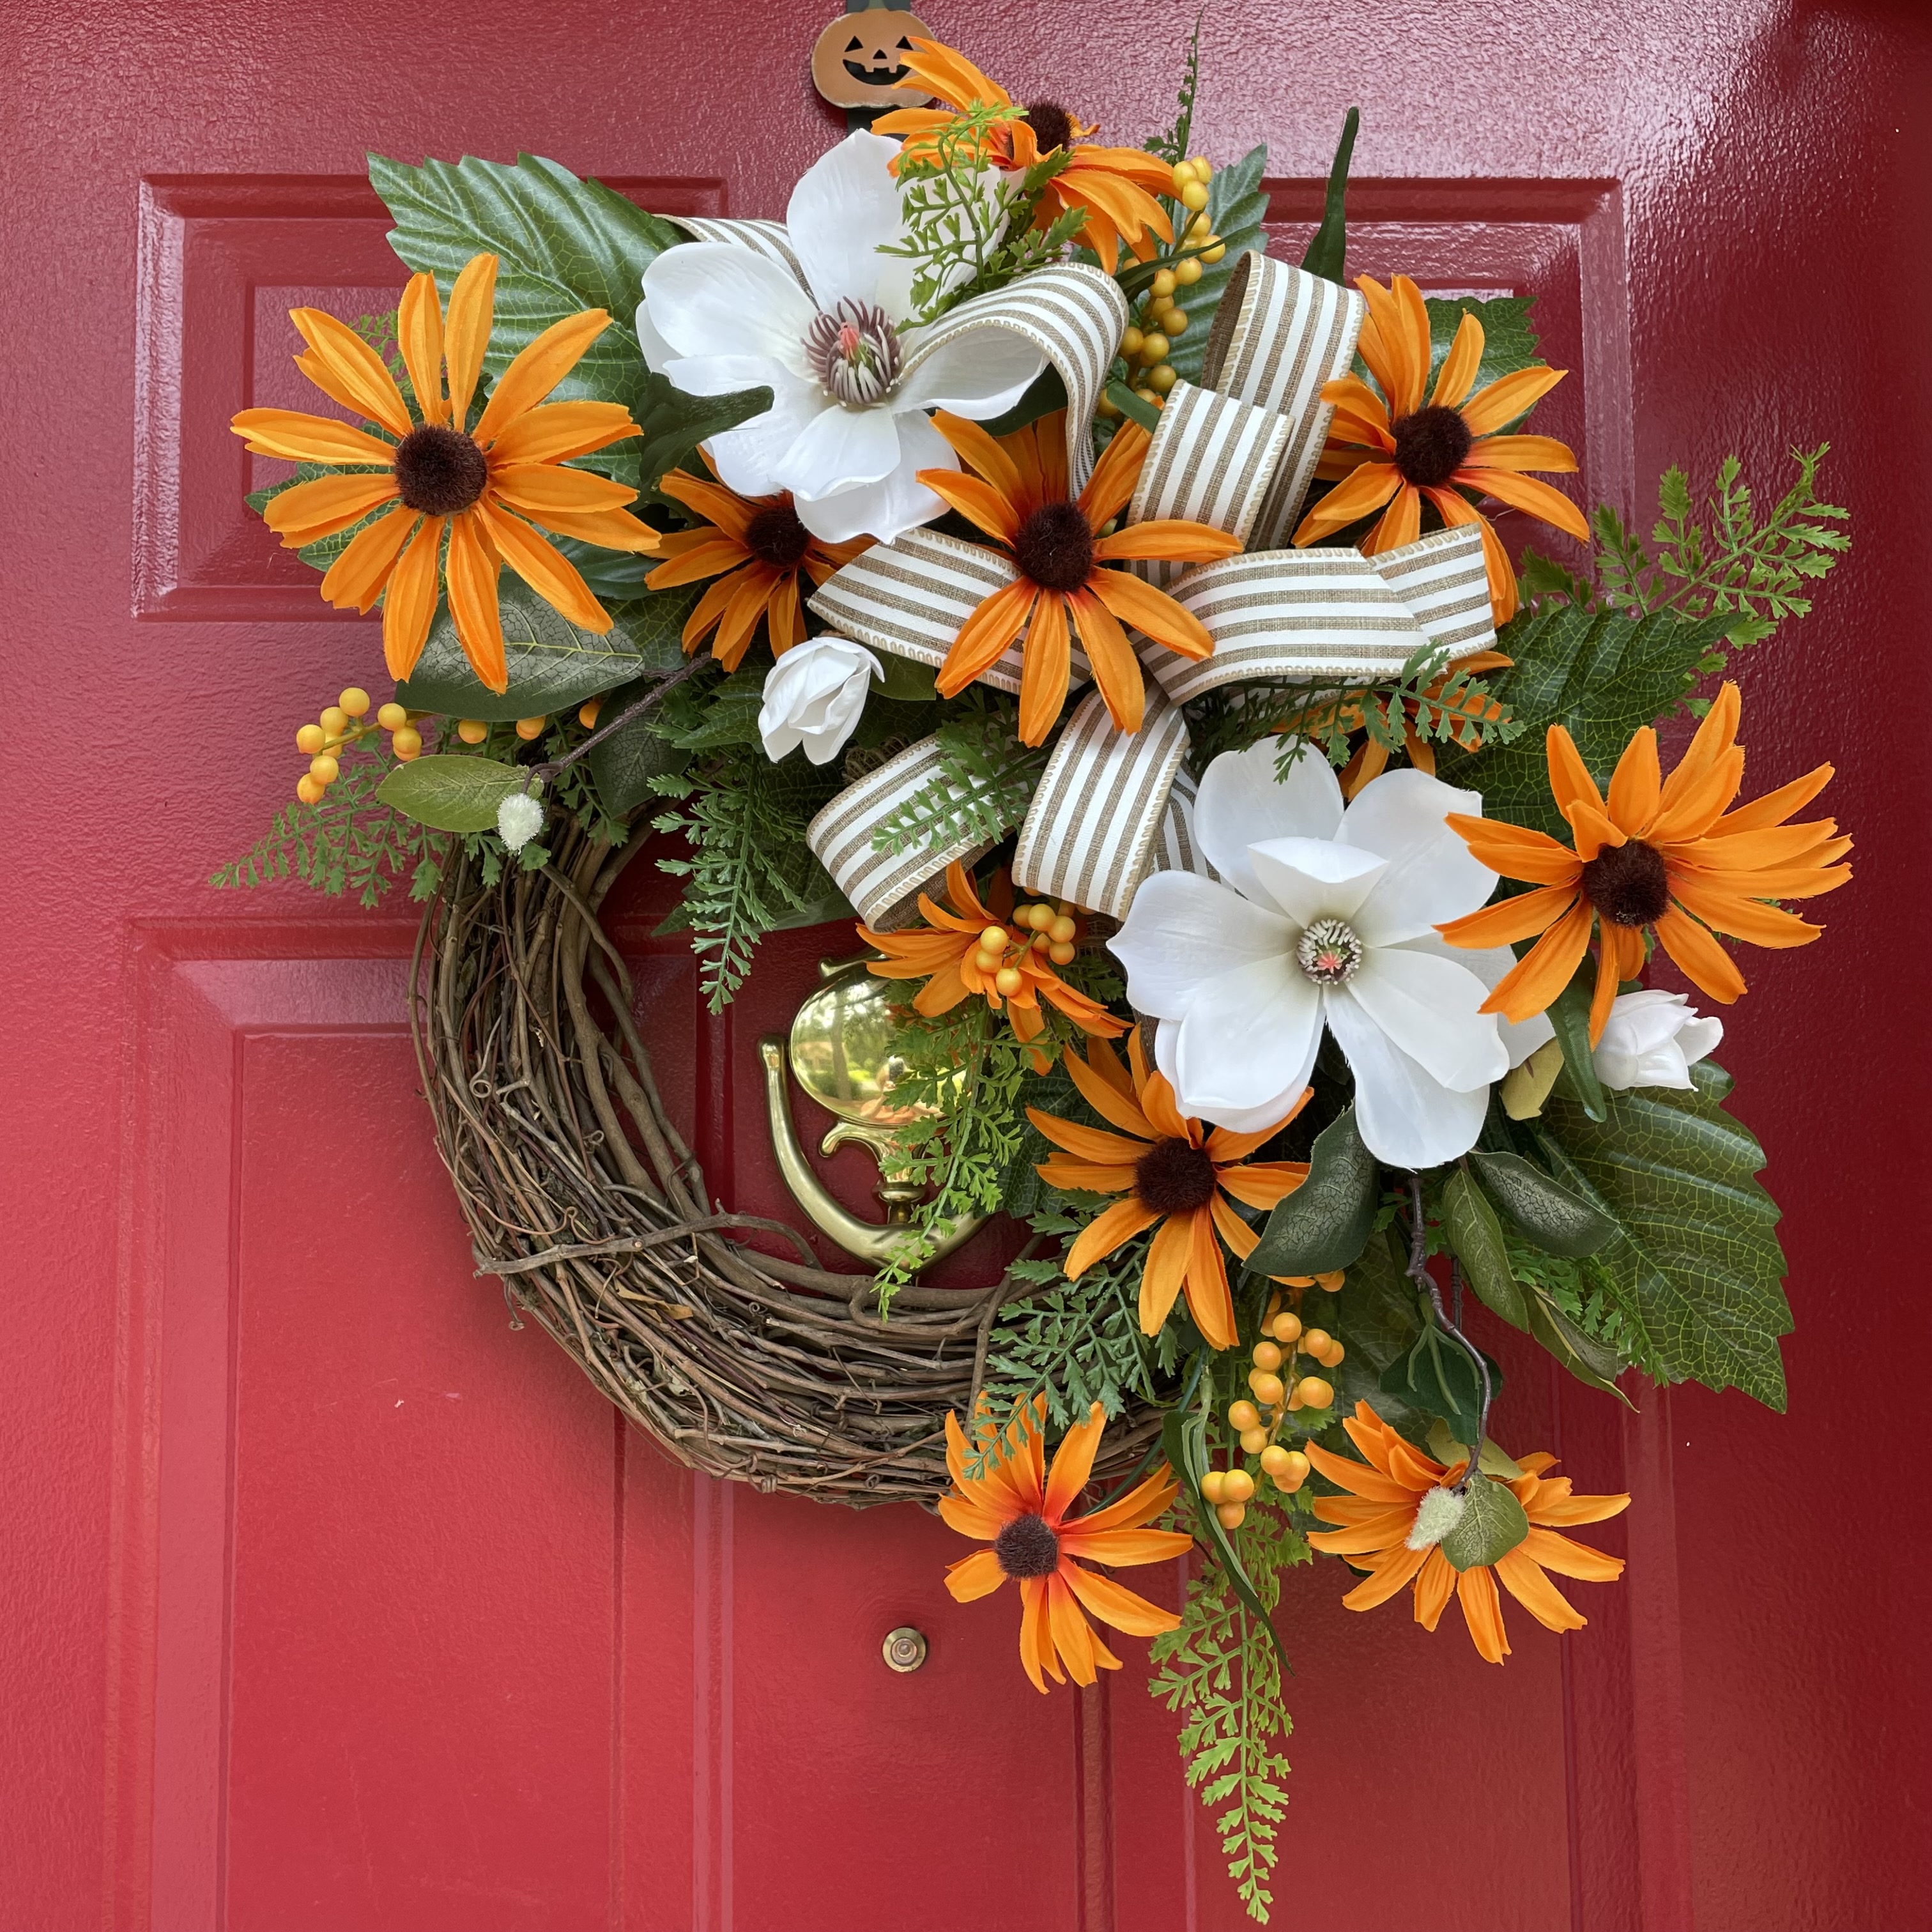
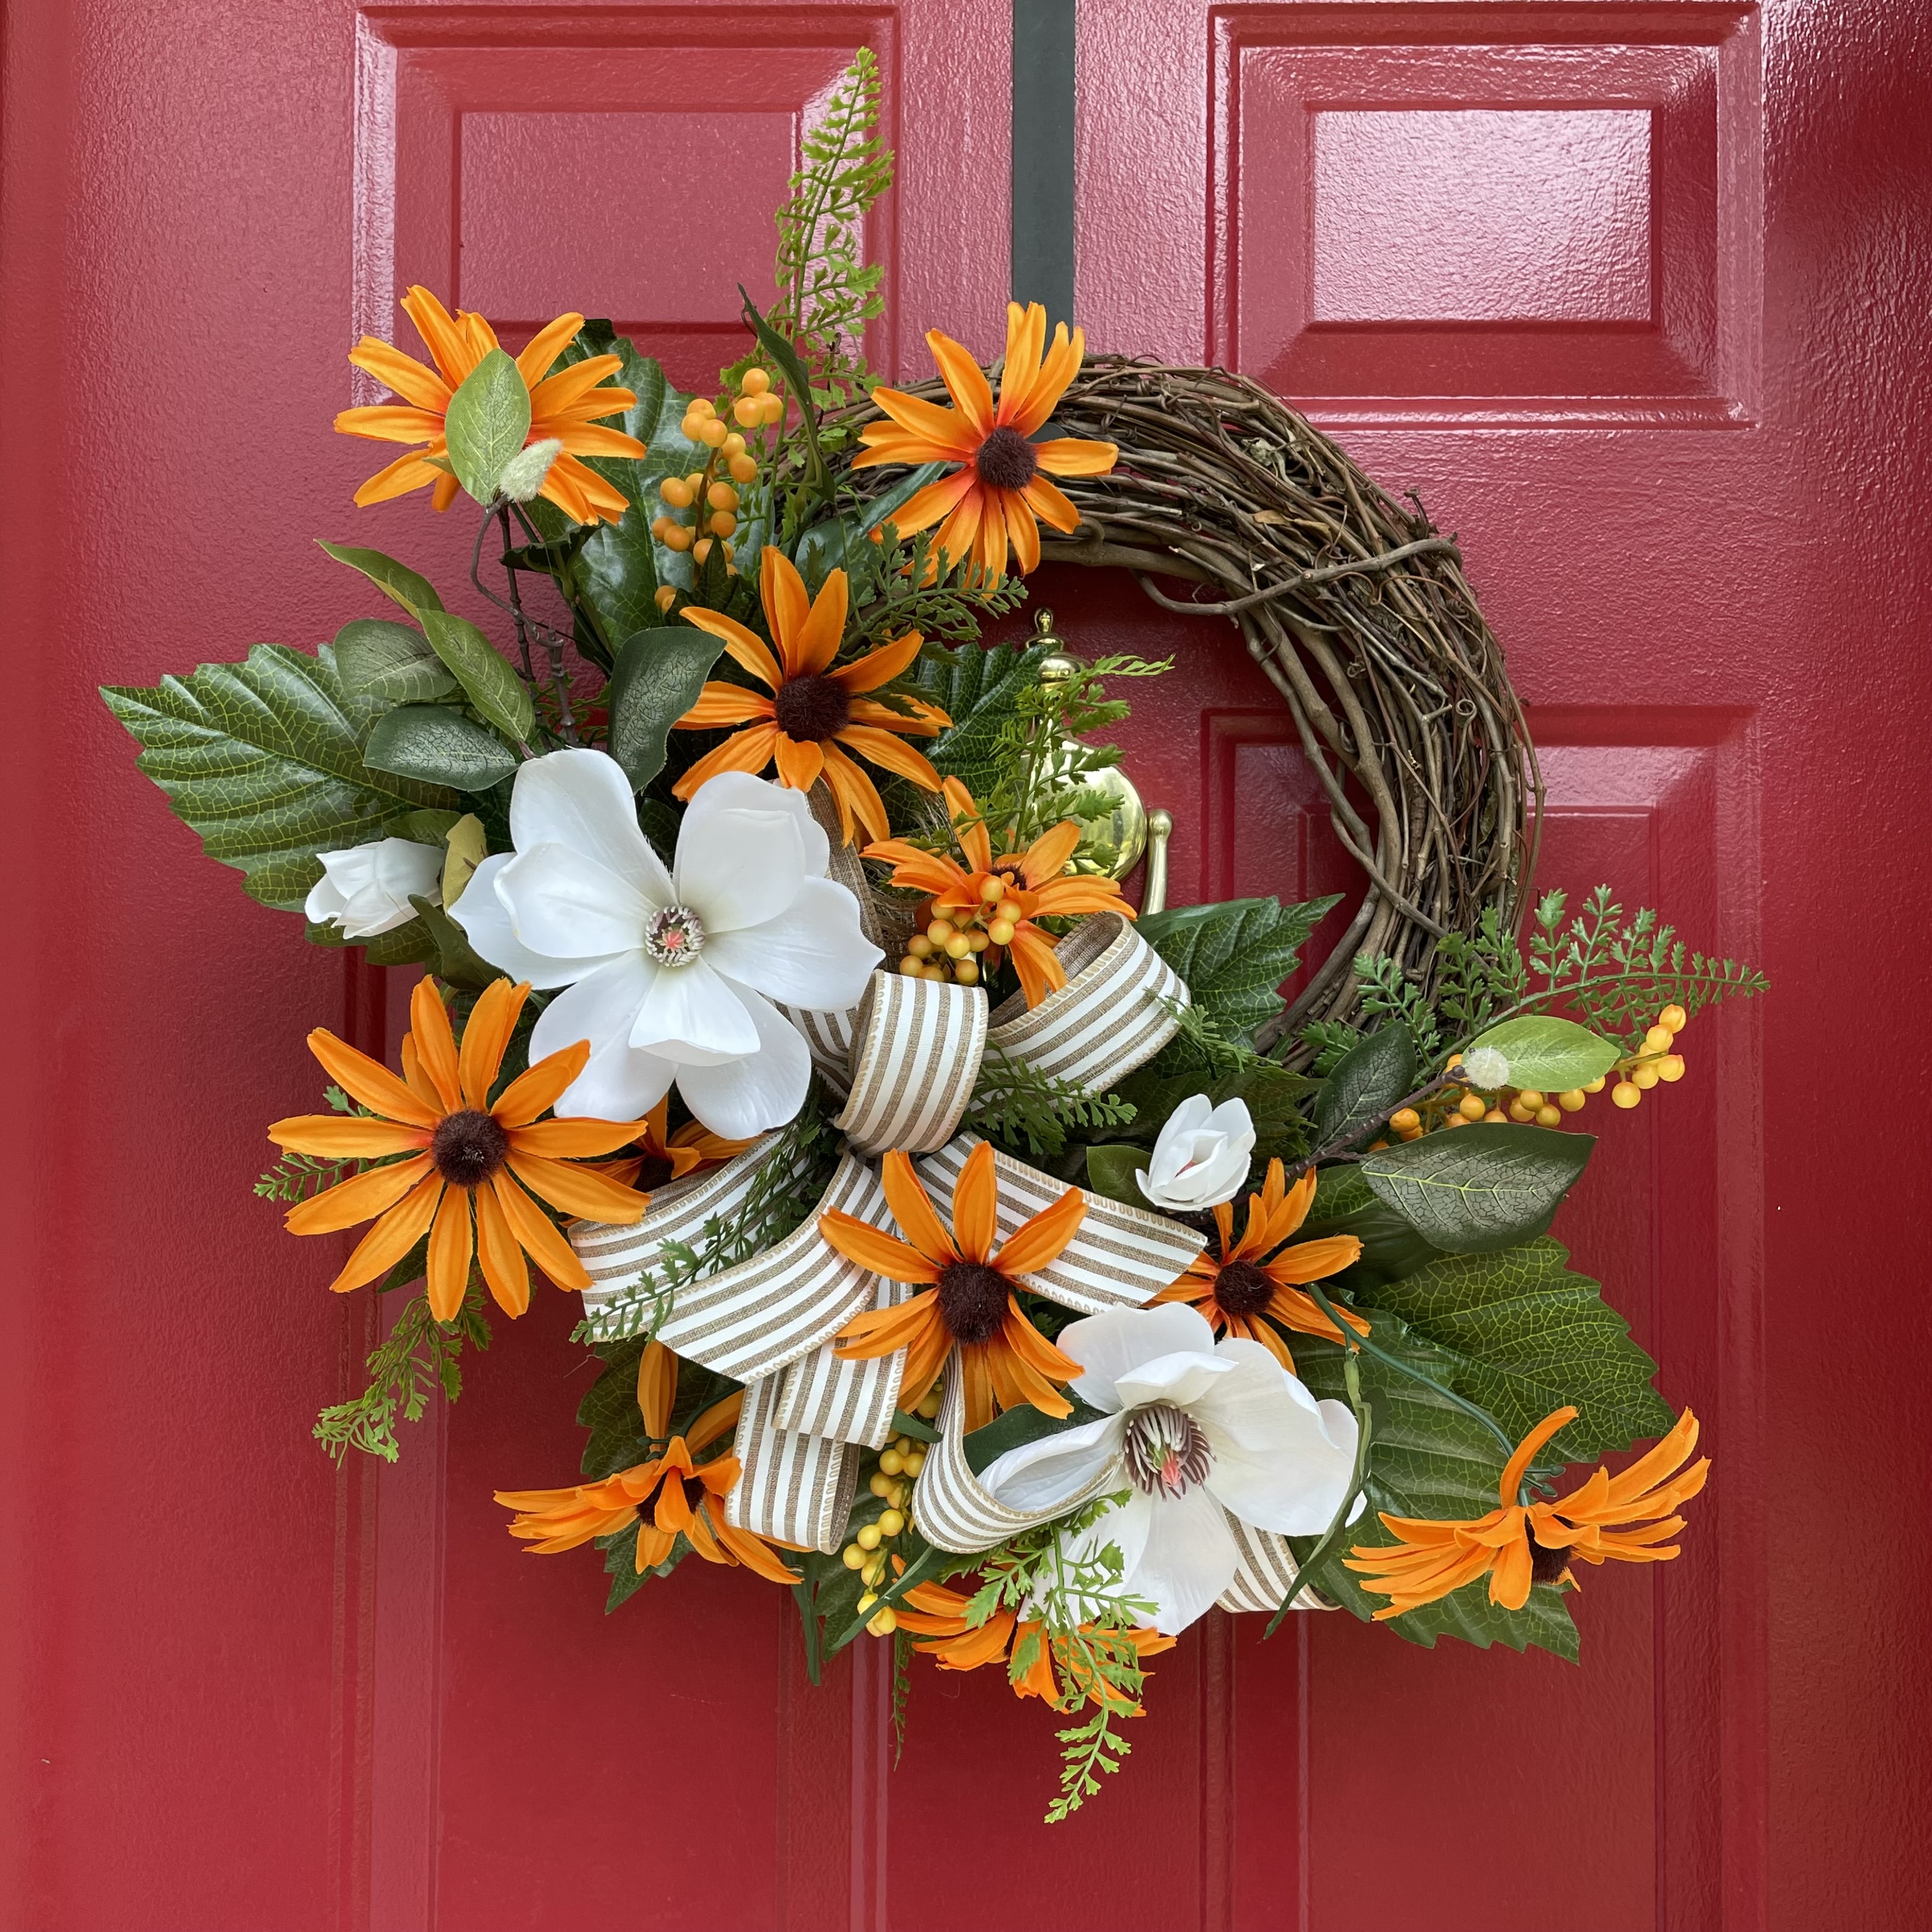
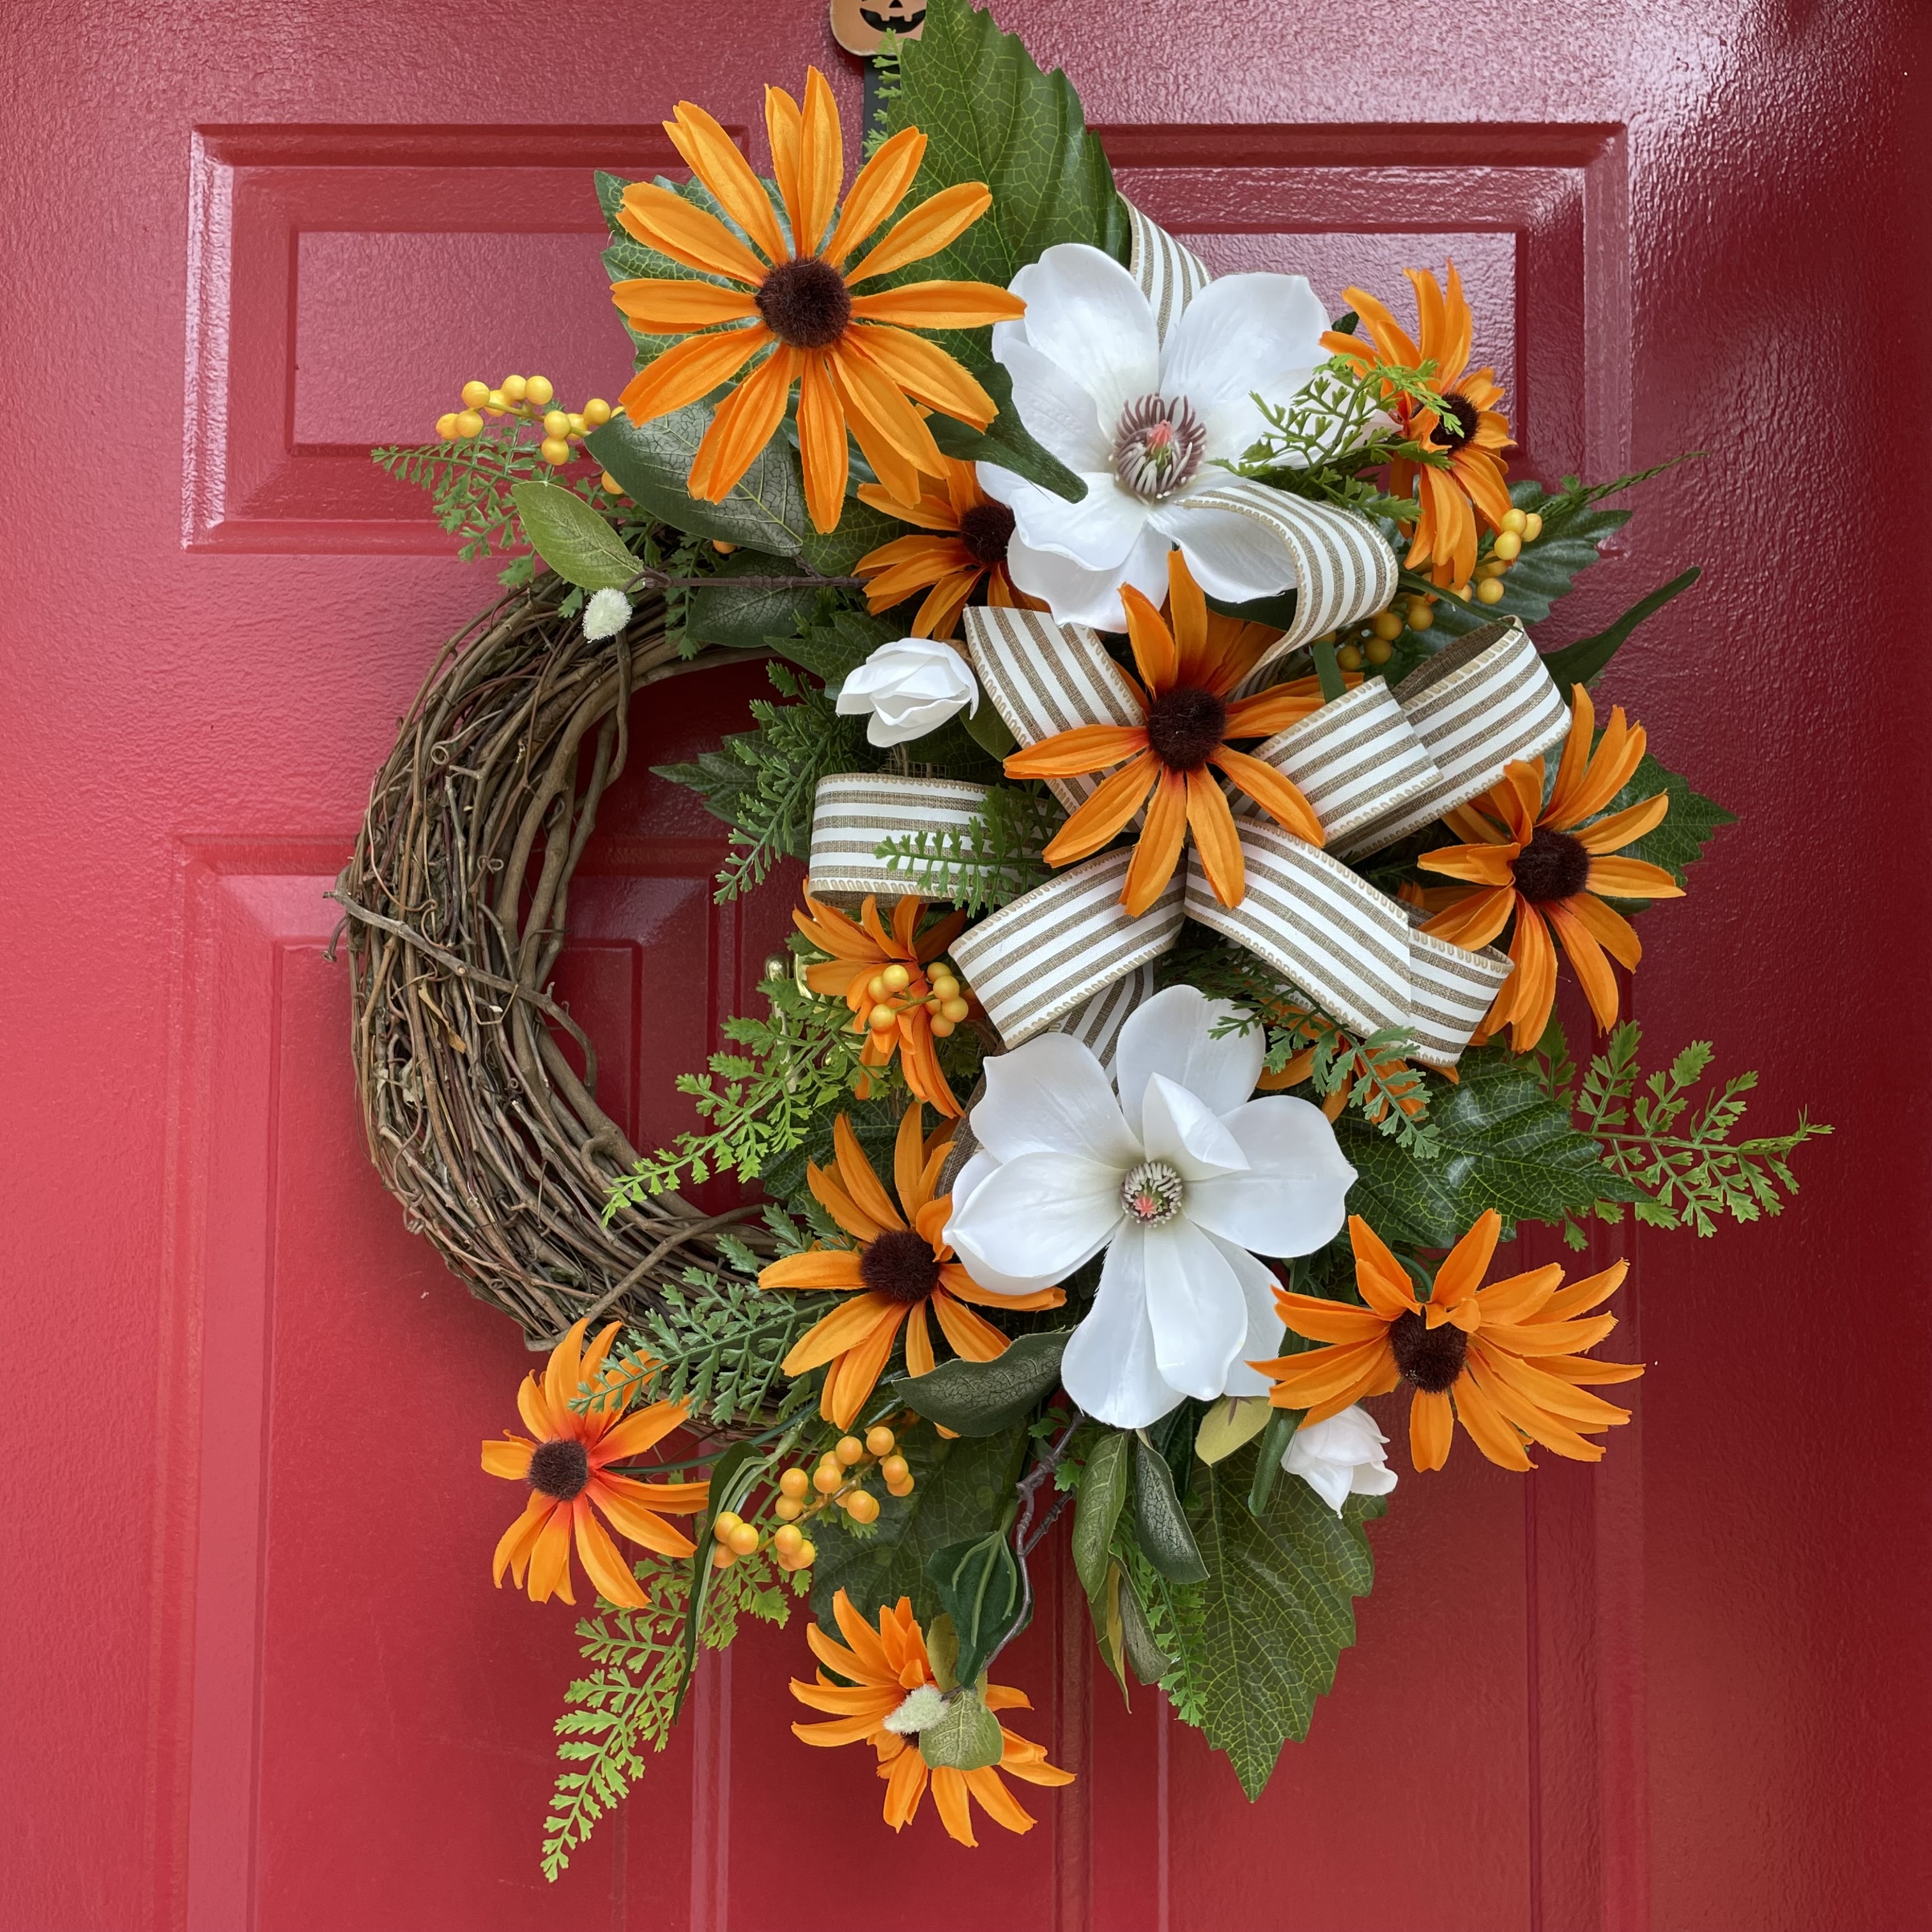
Hi friends! Did you know there are wreaths designed to be hung more than one way? There are. At times, a wreath designer will create a wreath to be hung interchangeably on your wall or door. This allows you to make a slight change with your wreath and your decor will appear differently. You could have a lot of fun doing this with your family and friends with them wondering “what is different?”. I have an example of a wreath to show you the tip below.
What do you think? One wreath hung five different ways to make a slightly different look.
Are you ready to celebrate the 4th of July? Here at Nesting By Robin, I am celebrating by offering a 20% off sale on most items in my Etsy shop. Just click here and check it out!
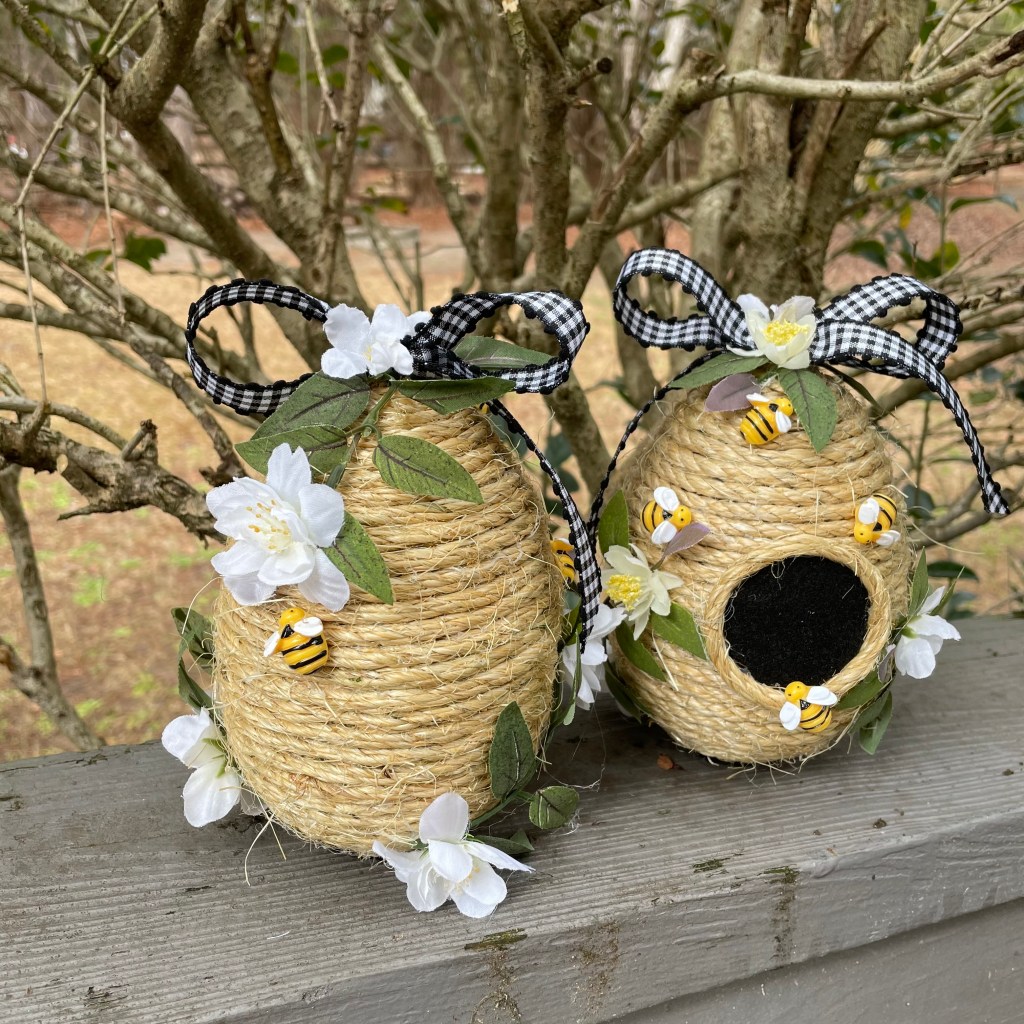
Are you a bumble bee lover? Do you like to decorate your home with bee decor? Thanks to many, the hottest item in my Etsy shop this spring and summer have been the bee hives. This little gem has made so many happy to add this hive to their bumble bee decor. I am humbled and grateful to those who have made this a “best seller” in the Etsy community. However, the most fun I have had are seeing the pictures sent of how these special people display their hives. So, I thought I would share a few with you.
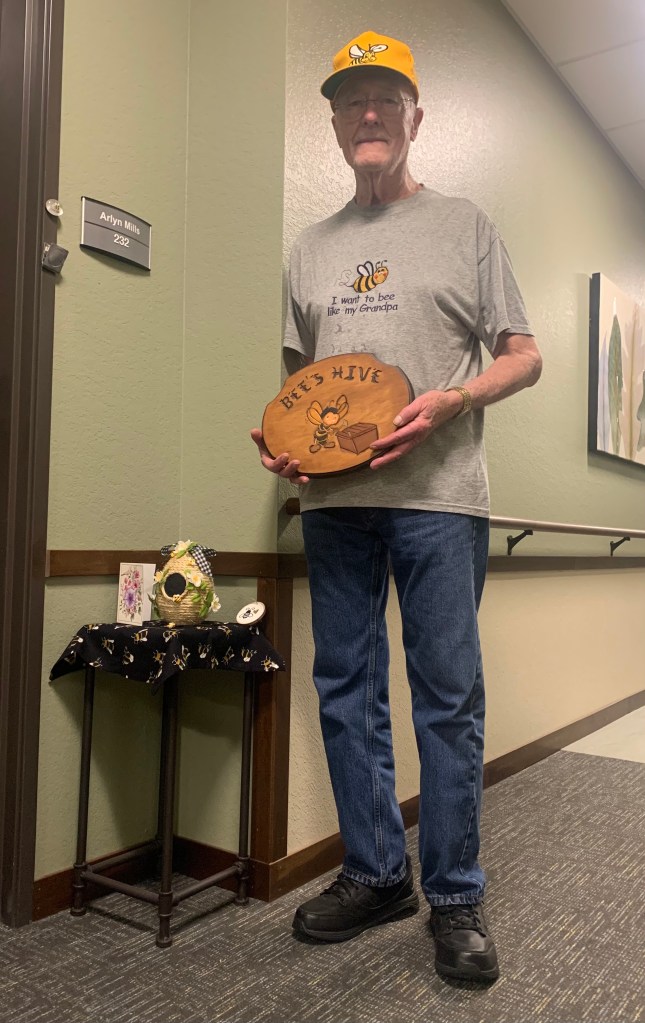
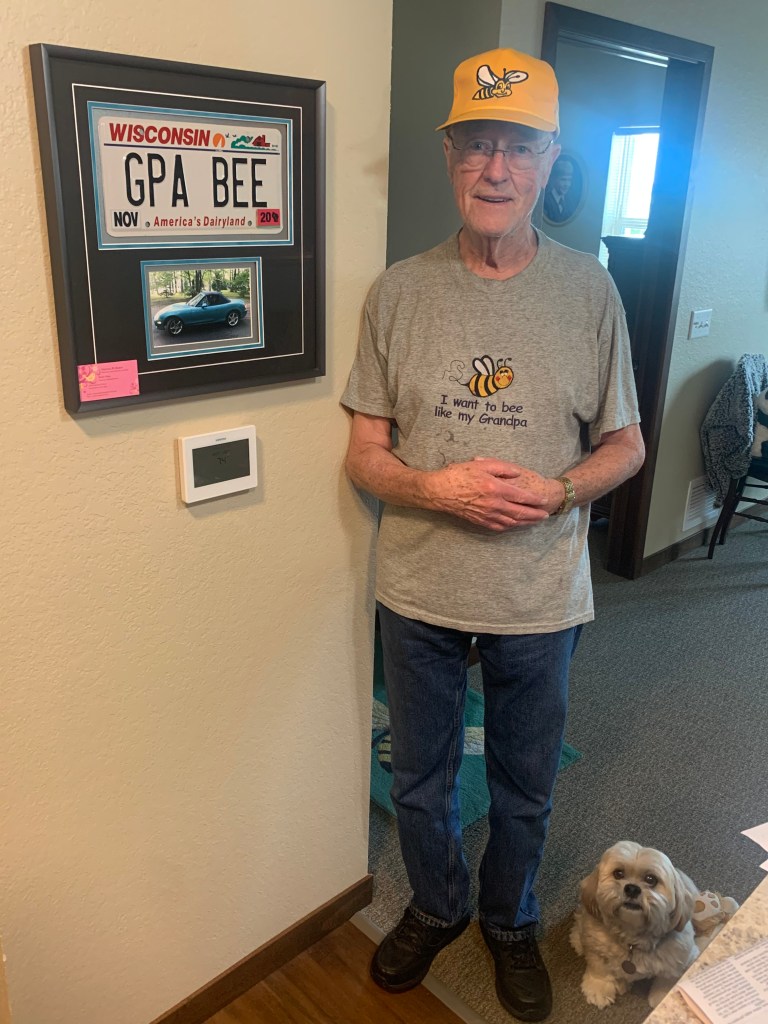
Meet Arlyn. I don’t know who his friend is sitting next to him, but are they not a cute couple? His grandson, David is pretty special too. David knows grandpa is a big “bee lover” and purchased the bee hive for him. When Arlyn received his new hive, he emailed these pictures with the subject line saying “Check out my memoraBEElia”. Don’t you love his collection? I know I do! It was a blessing to receive these pictures and yes, surprised and appreciative seeing my business card added to his memoraBEElia. Thank you!
I love, love how Susan had displayed her bee hives! This is really a clever idea. Her front entry looks fabulous, wouldn’t you agree? Etsy marketing team thought so, they used this picture for one of their sponsored ads. Thank you for sharing with us!
Daedra was a lot of fun! She shared right away a picture of her bee hive being added to her memoraBEElia along with ladybugs. This is so bright and cheerful, doesn’t it cause you to smile? I love it!
These are just a few pictures, however there are many comments in the review section of my Etsy shop regarding how the bee hives are being used. Such as being used as a basket filler, as a gift idea, in a three tier tray decor, and one even mentioned using hers as centerpieces on tables for a shower. There are so many creative ideas, how would you use these bee hives? Send a message and share with us.
An inquiring mind would like to know. How many of you still have Christmas decorations up? How many of you partially take down your Christmas decorations? For example your Christmas tree becomes a “Holiday” tree. You remove the recently past season ornaments and adorn your beloved tree with the next holiday ornaments. Or…you leave up all of your snowmen decor, because technically it’s still winter and add Valentine’s decorations with it. My last question, do you straight up take down all of your Christmas decorations and redecorate for the next holiday, or go back to your original home decor? No judgement here because all of the answers shows your personality in decorating.
What do I do? I decorate for all of the holidays and seasons. I have to admit that I’m a little slow in removing Christmas decorations inside and outside my home. I light everything up until…now? Last week I did remove the Christmas tree and decorations but left up most of my snowmen decorations throughout the house.
Christmas removed from the fireplace mantle and ready to add…
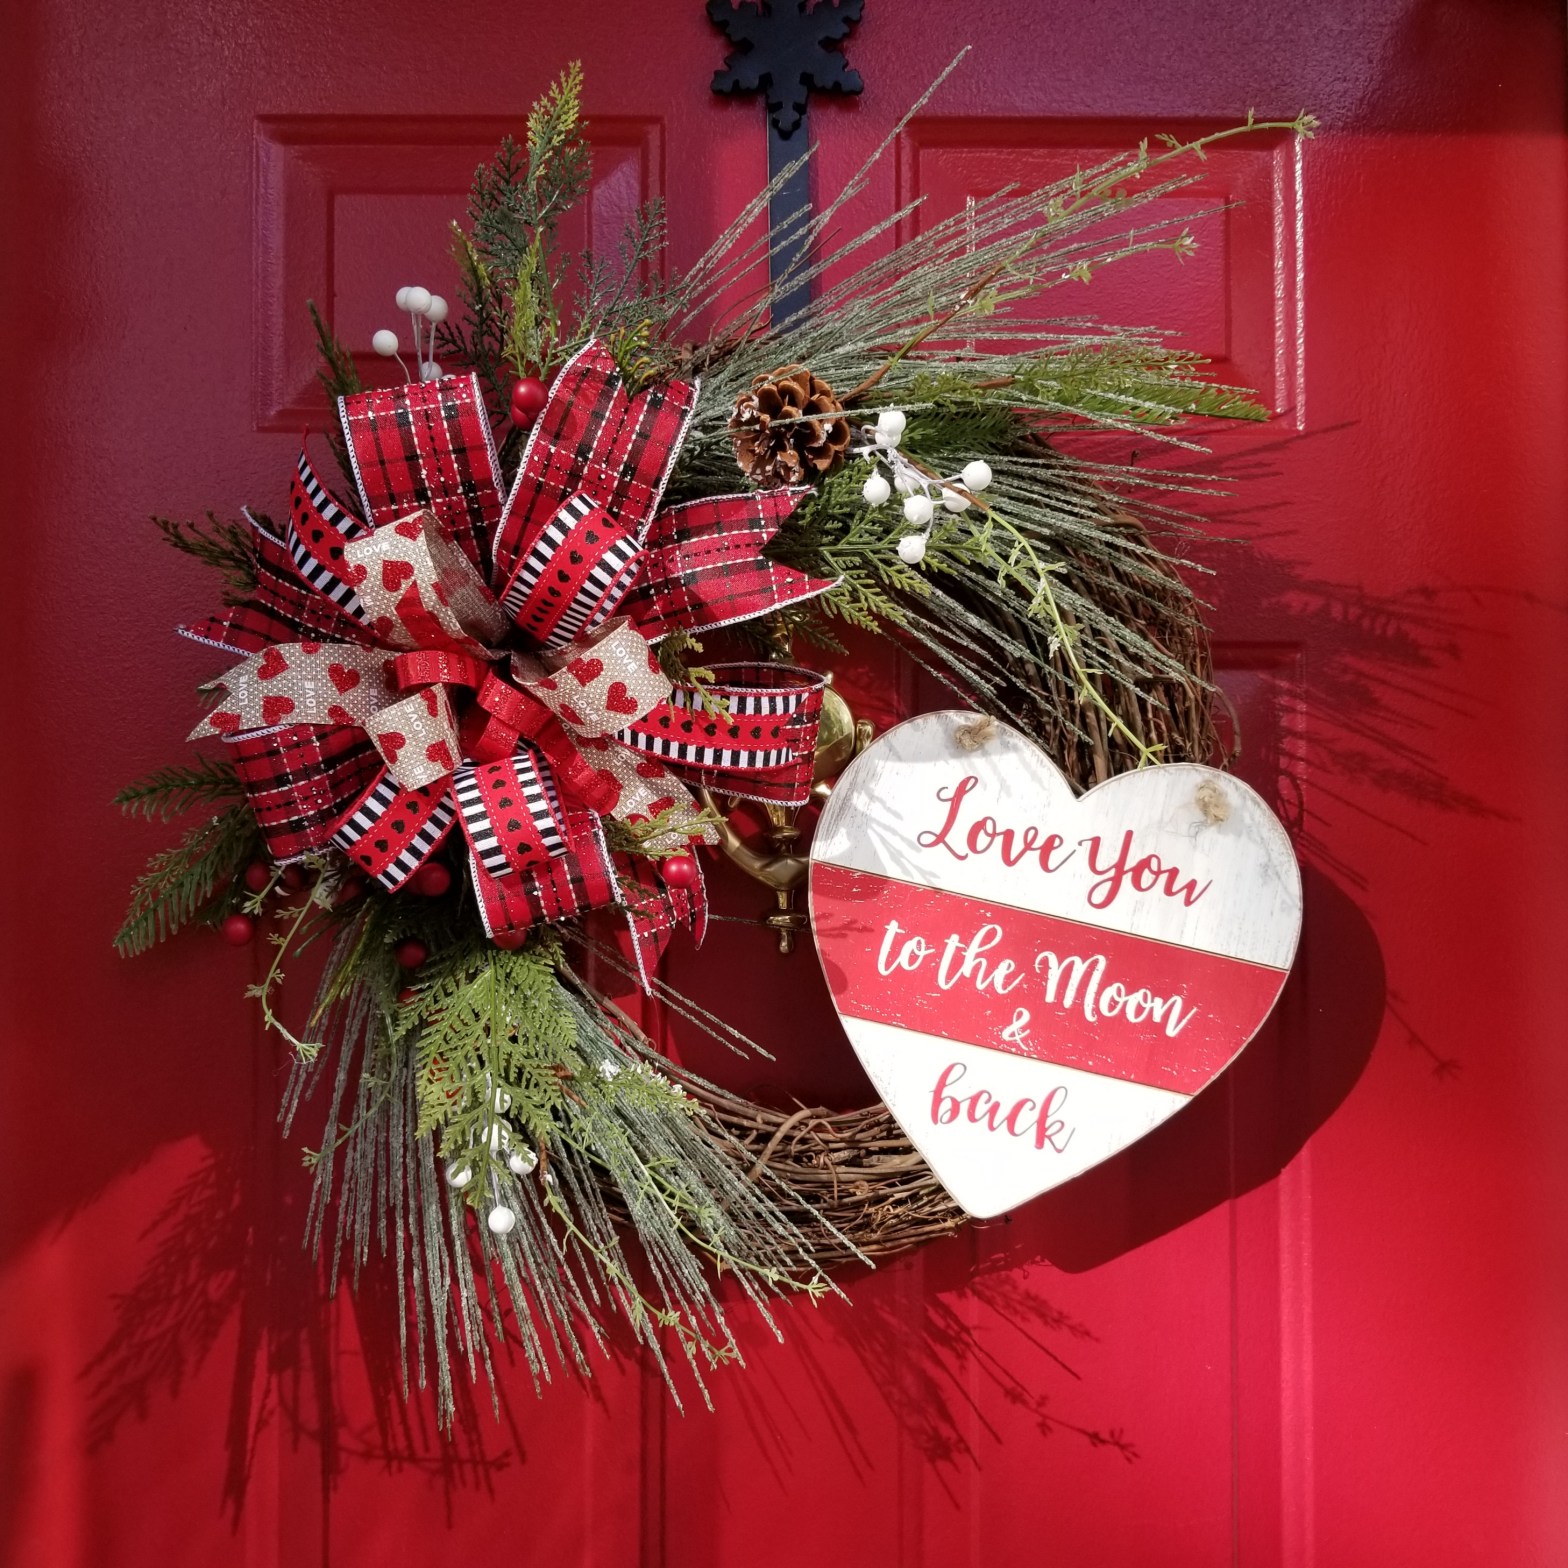
Today, I removed all of the Christmas decorations in the yard which included an over six foot snowman blowup skiing on candy canes, (a story of me setting it up will be shared at another time). I also removed everything on the porch except the garland around the door and the projector in the front yard. Why? It’s time to decorate for Valentine’s Day. The projector has a great Valentine card to be displayed on the house,(for the kiddos), I added red lights to the lighted garland and placed a new wreath on the door. I will finish decorating the porch tomorrow. It’s freezing outside, ready to rain and I can tolerate just so much cold. I know…WIMP!
Now I may not be working outside the remainder of today, but I will be rummaging through boxes of packed treasures. Inspiration starts setting in when I’m digging around and start pulling them out. Some of my treasures are for the outside and some are for inside my home. Some of them have memories attached and some of them are supplies for DIY projects needing to be made. Whatever I find, it’s going to be fabulous when I am finished decorating.
So, whatever you do after the Christmas season is over, take a look around, find those treasures you may have packed away and enjoy decorating your home. You’ll be smiling with gratification at your fabulous work.
Until next time…Robin
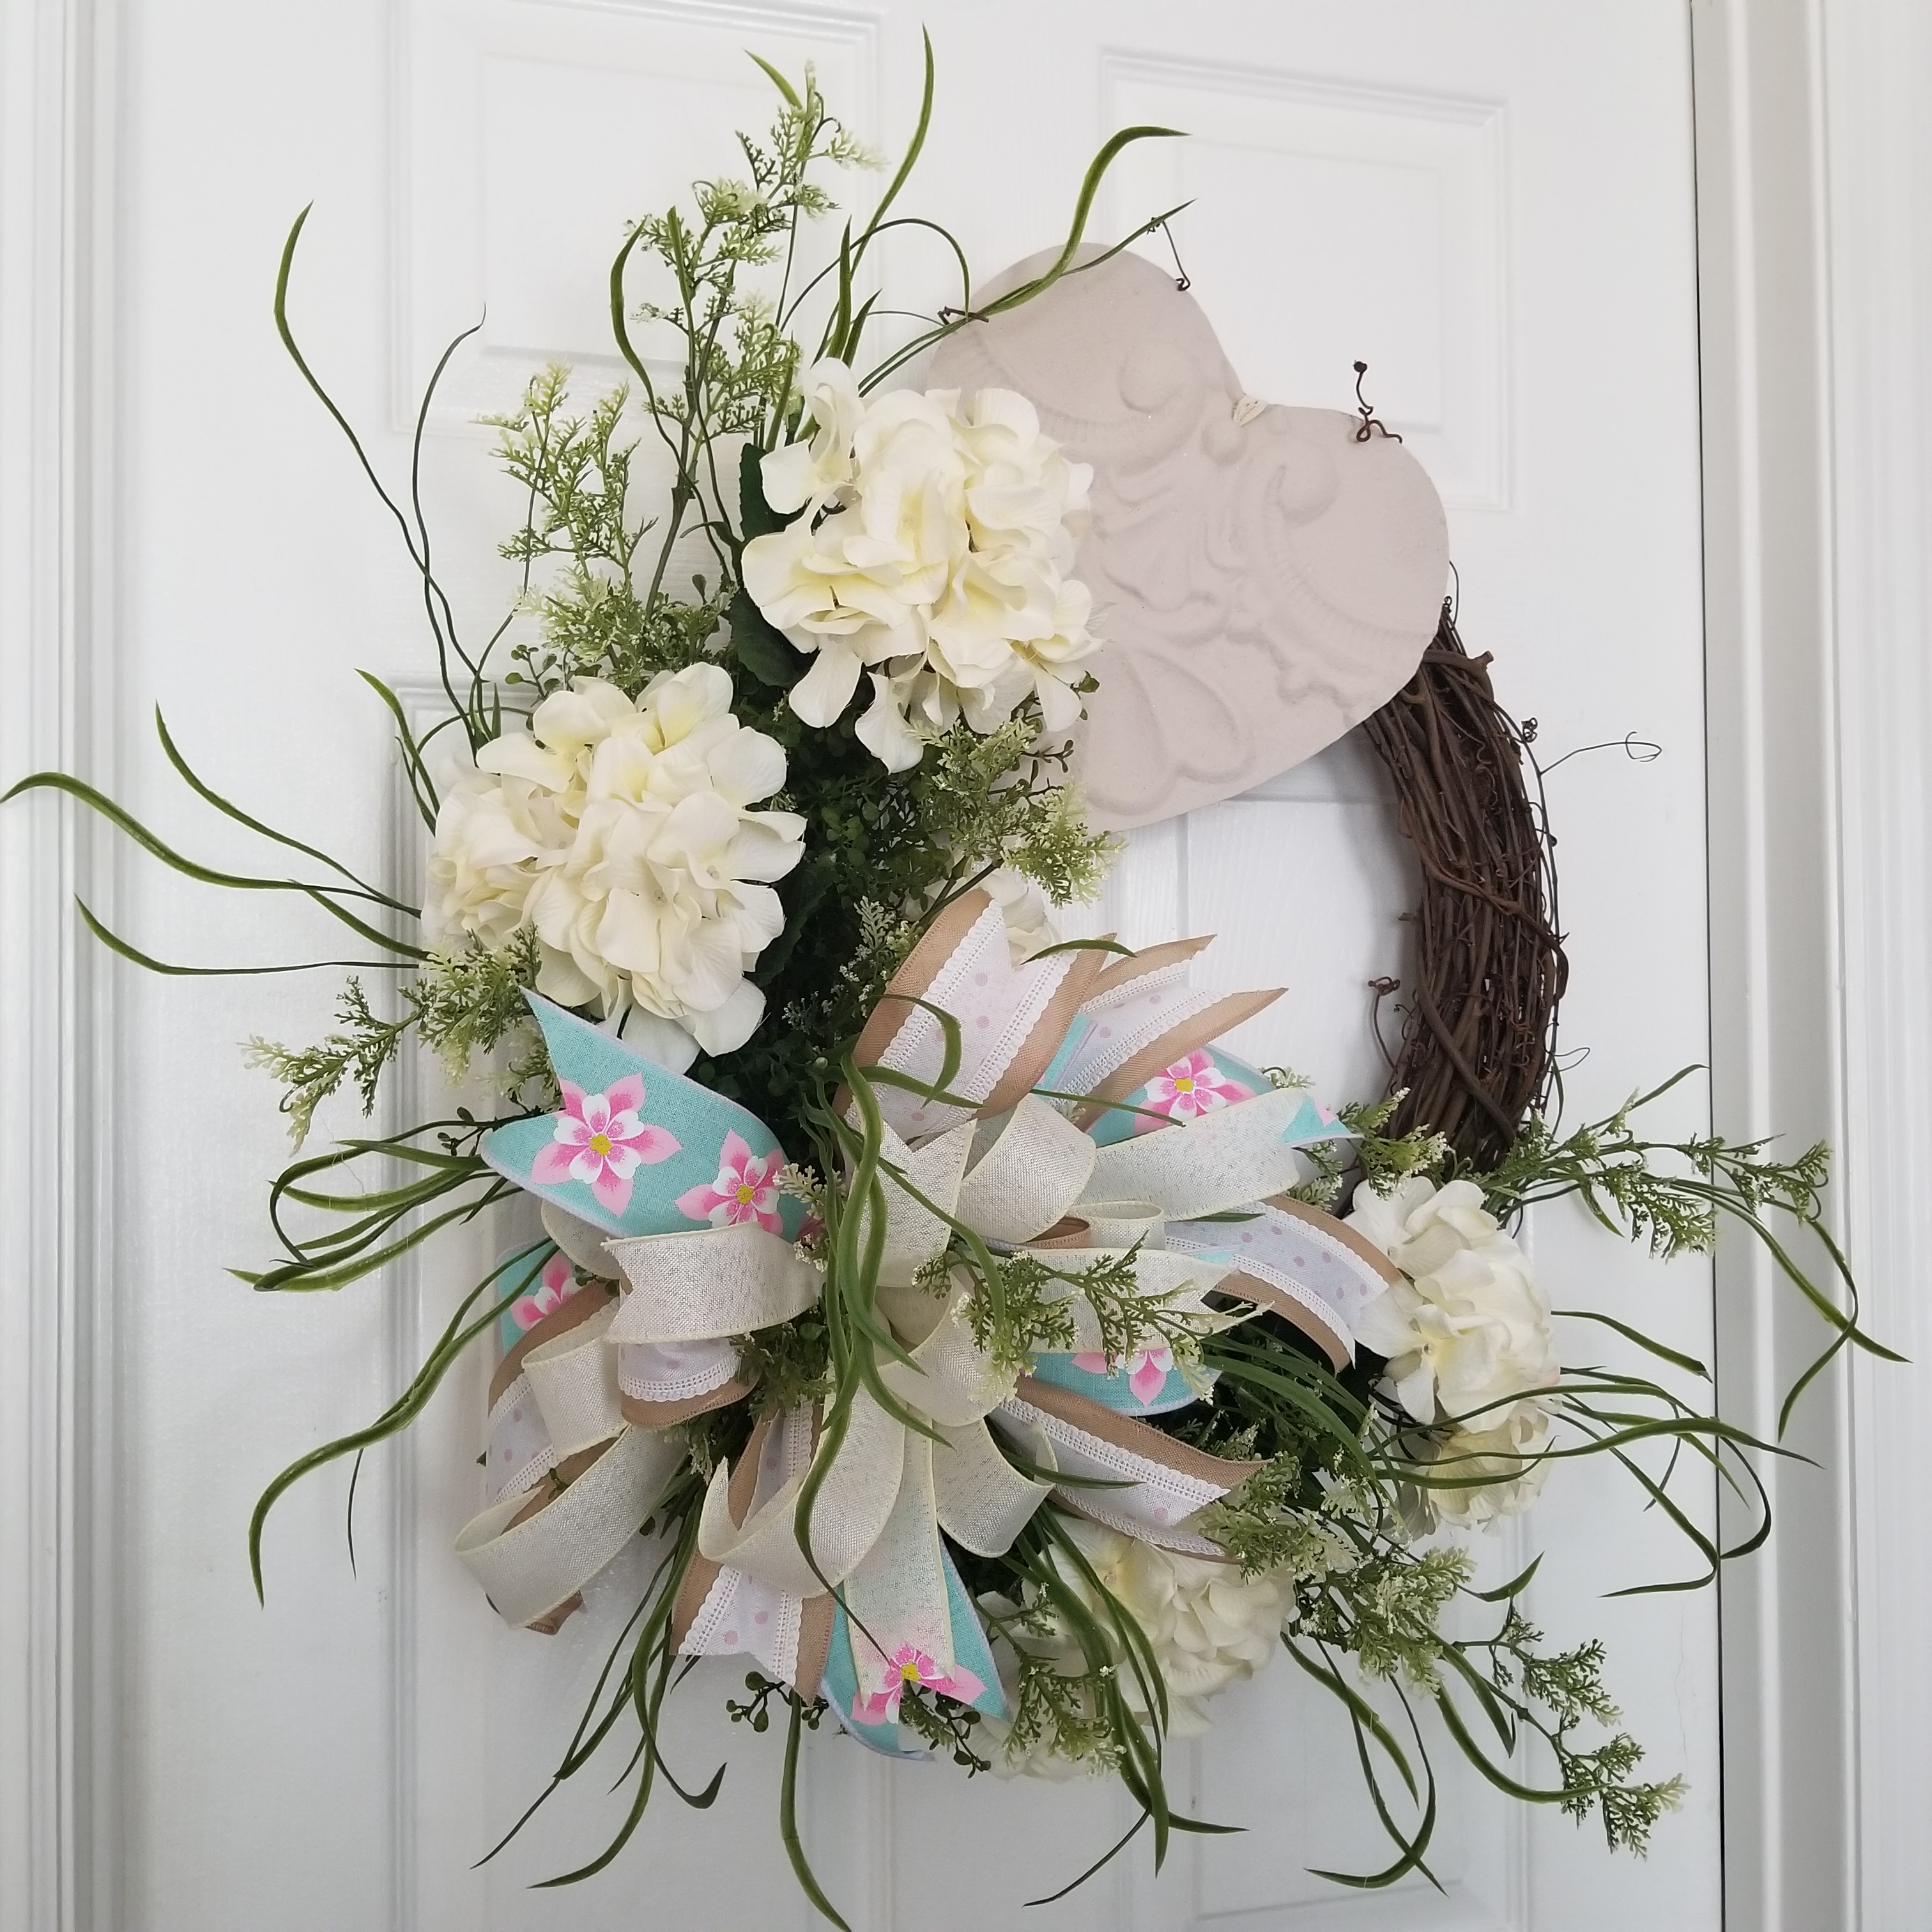
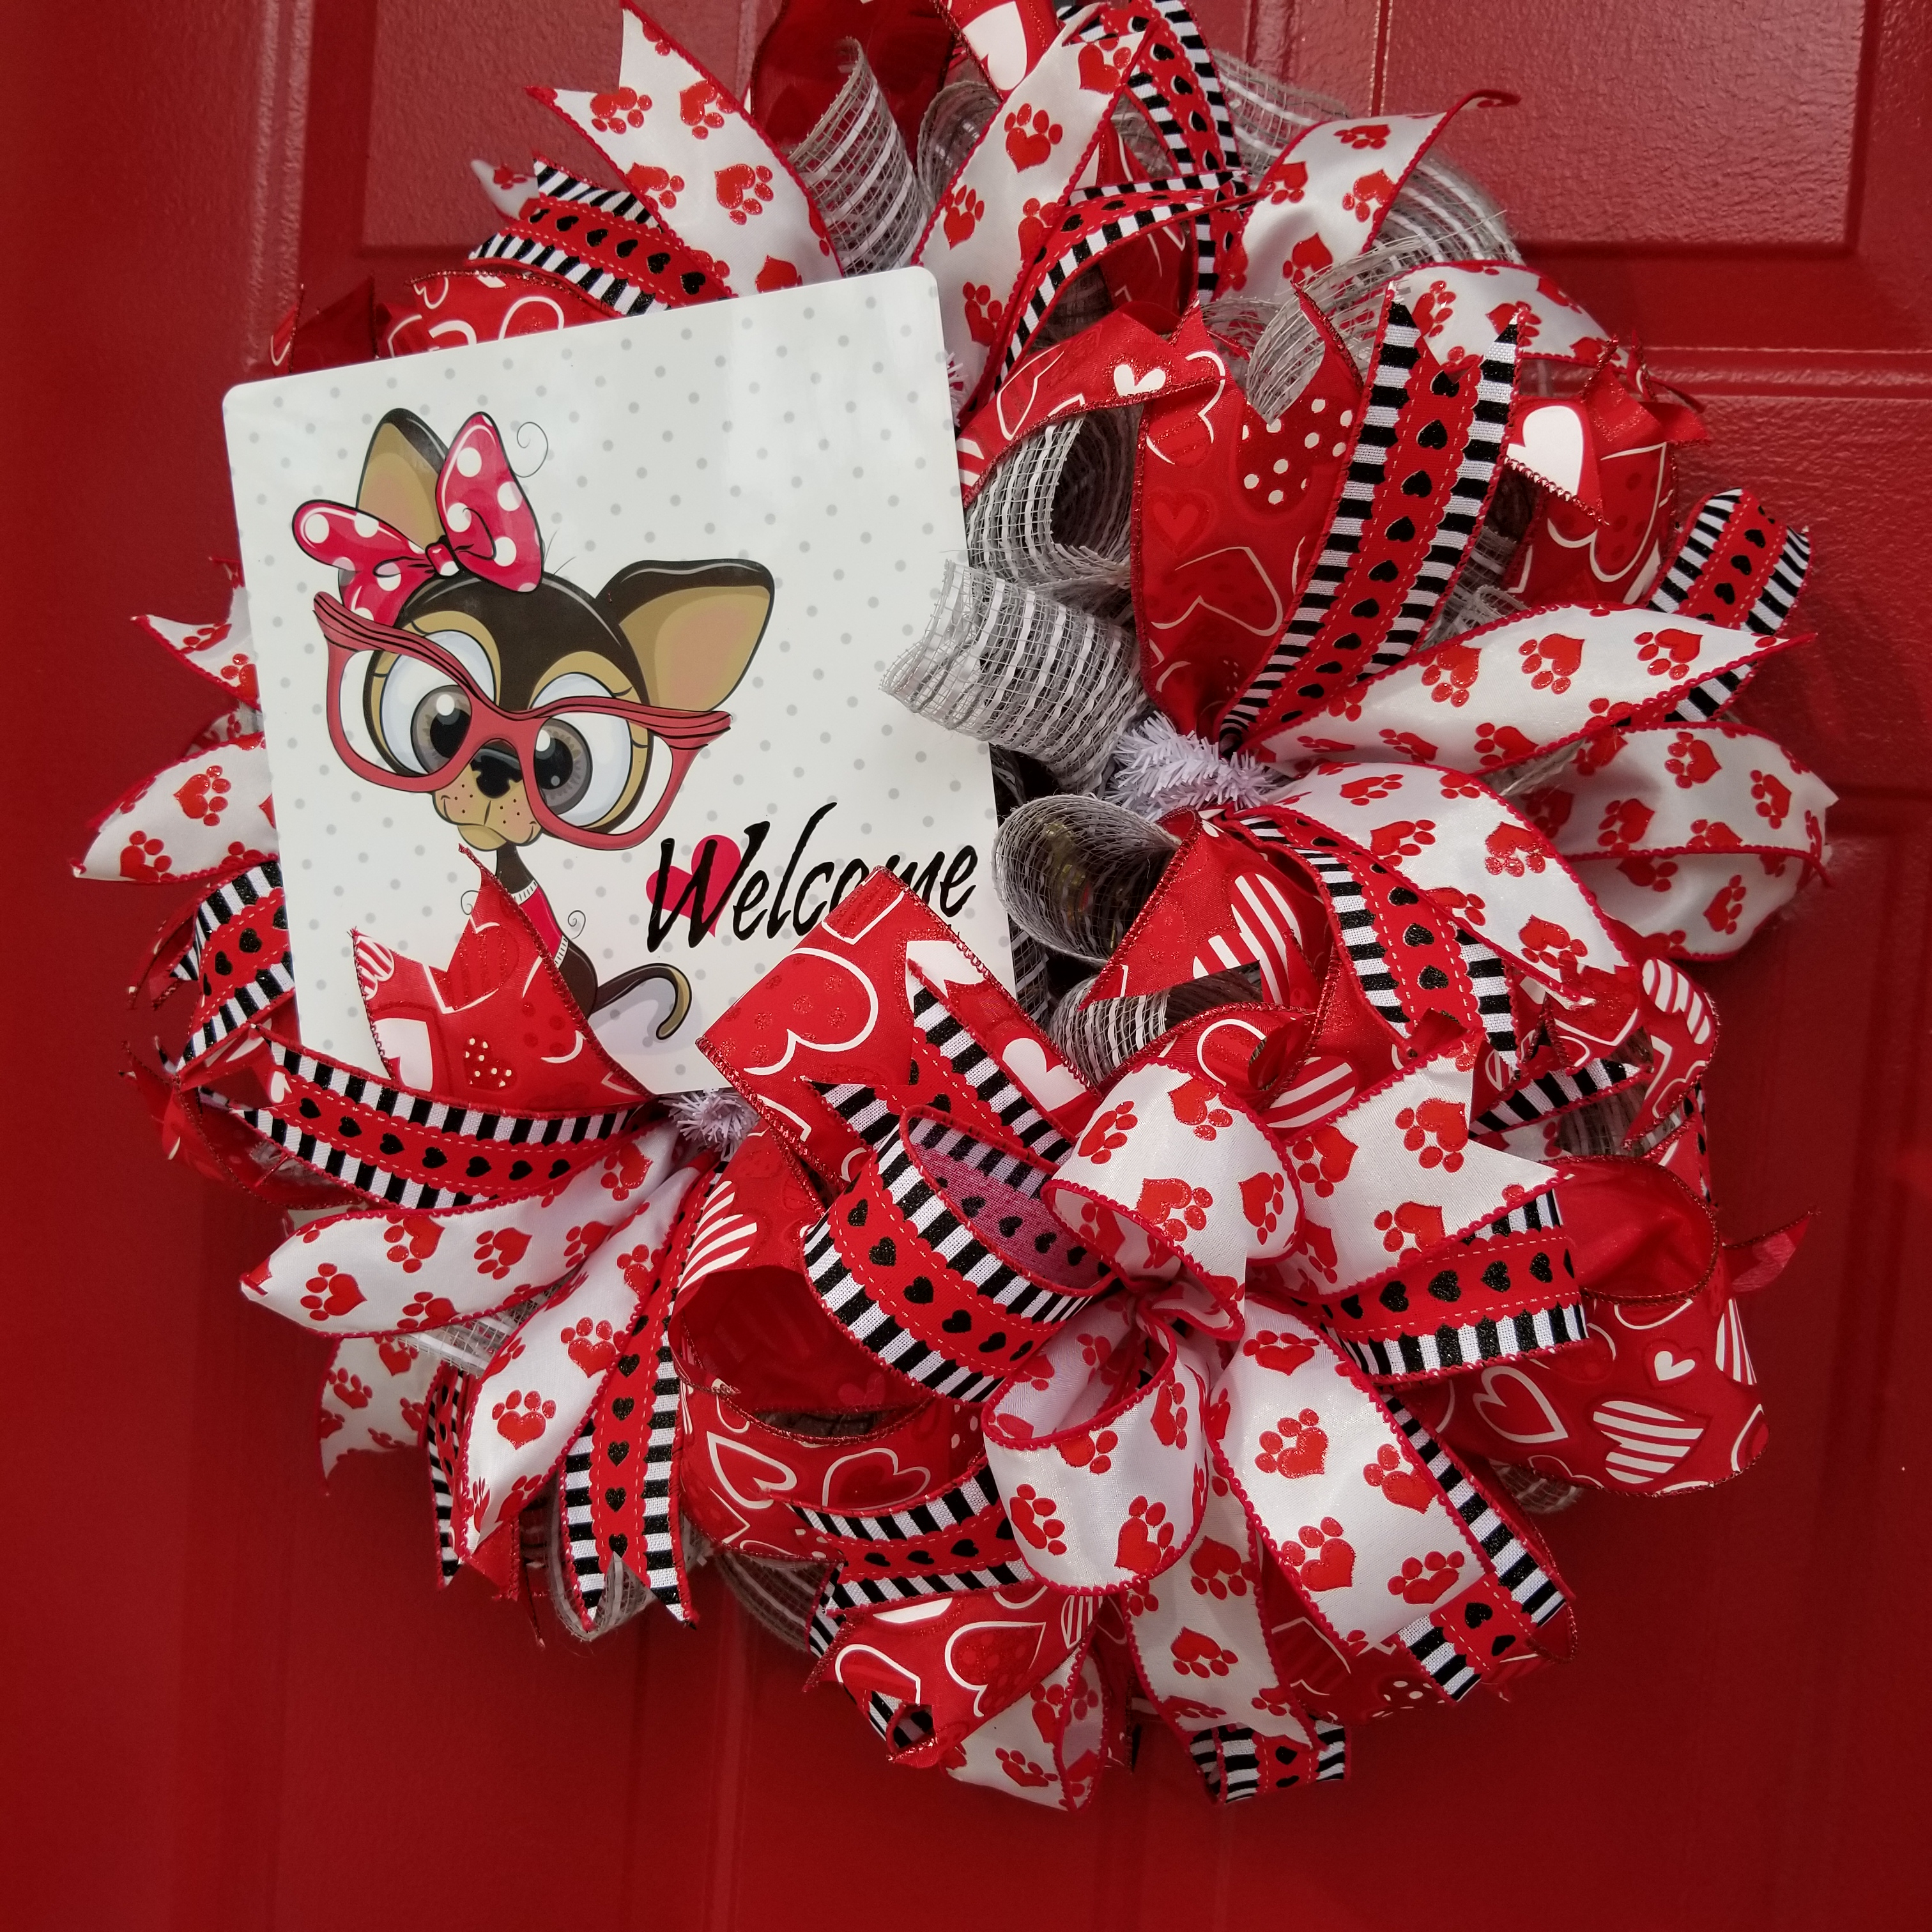
Now let’s take a look at what’s going on in Nesting By Robin’s Etsy shop. Valentine’s Day is coming soon and my shop’s inventory is down to three wreaths for the holiday. There is also an Easter sale going on until January 31st. The best news is everything is ready to ship today!
Looking for a Valentine’s Day gift? These flamingo slippers will be perfect to give to your special Valentine. They come in three sizes. S(5-6 US, M(7-8 US) and L(9-11 US). There are a limited amount available.
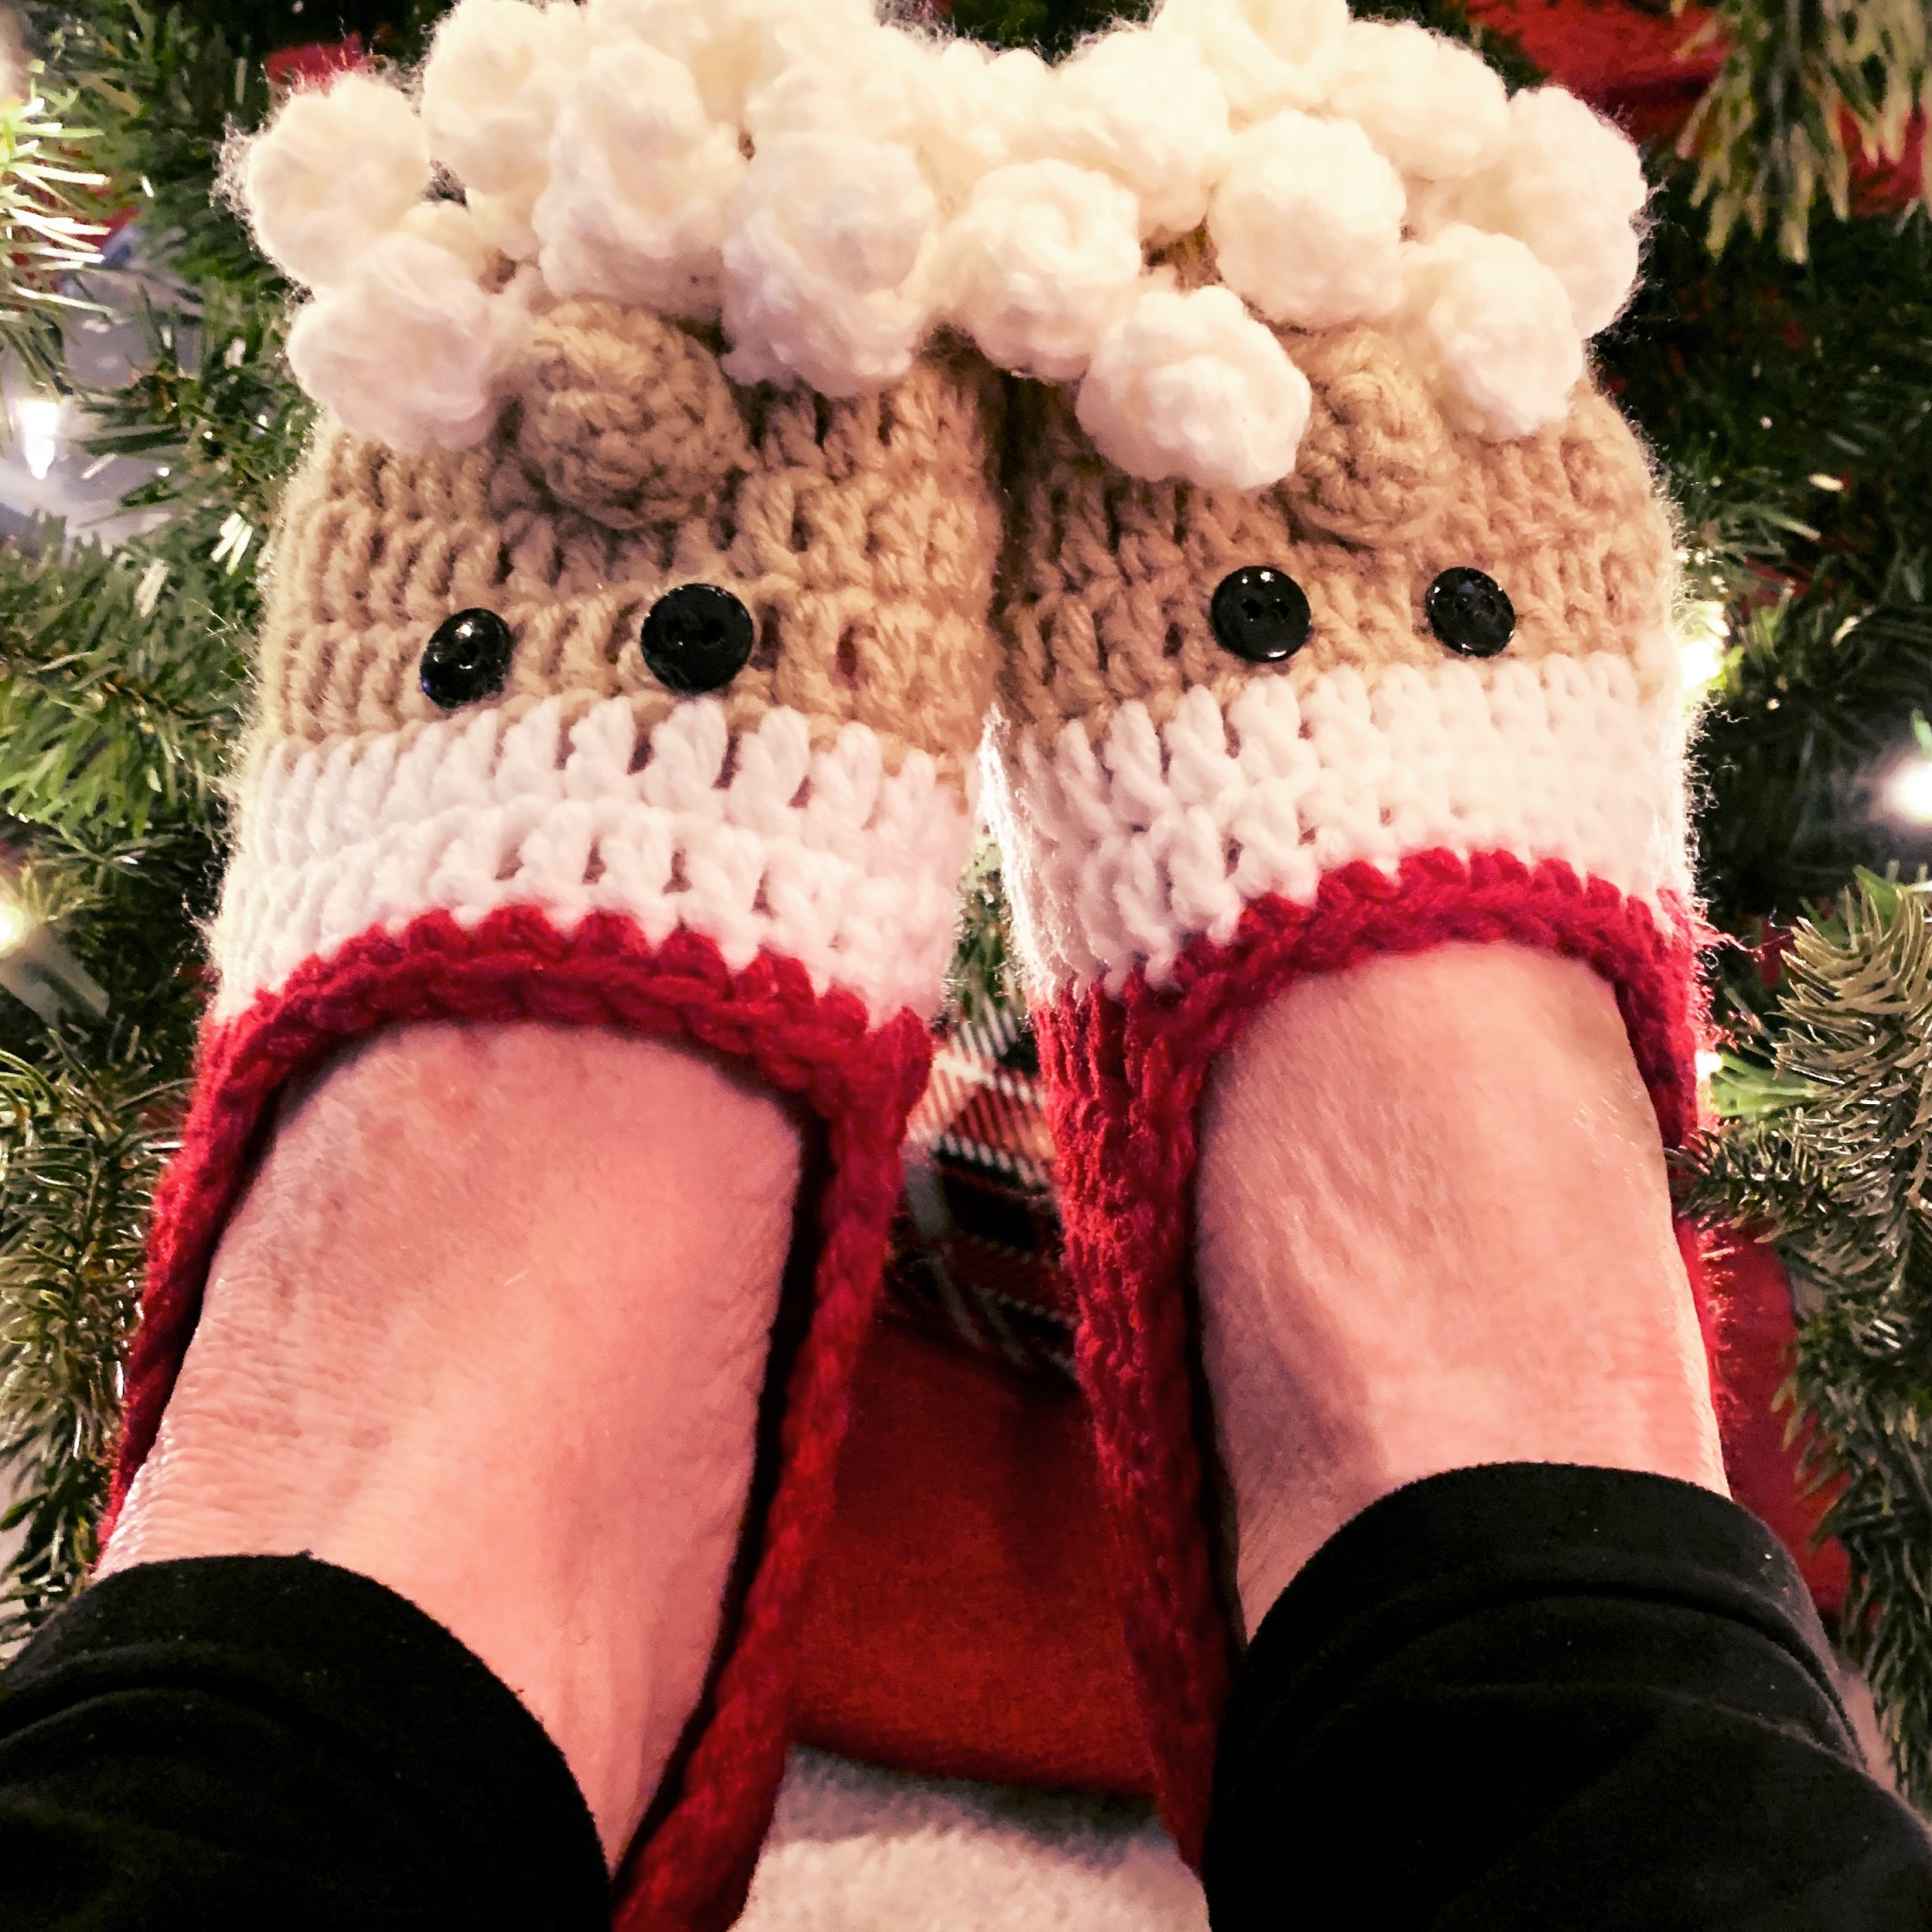
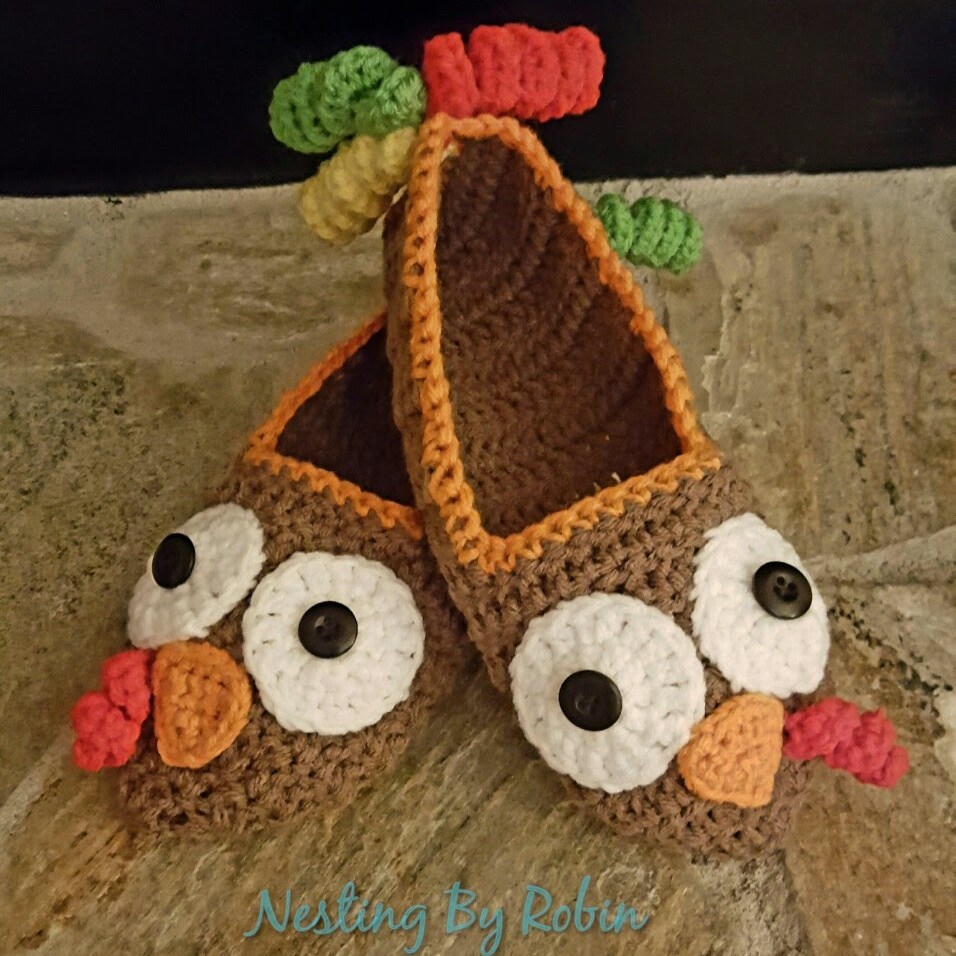
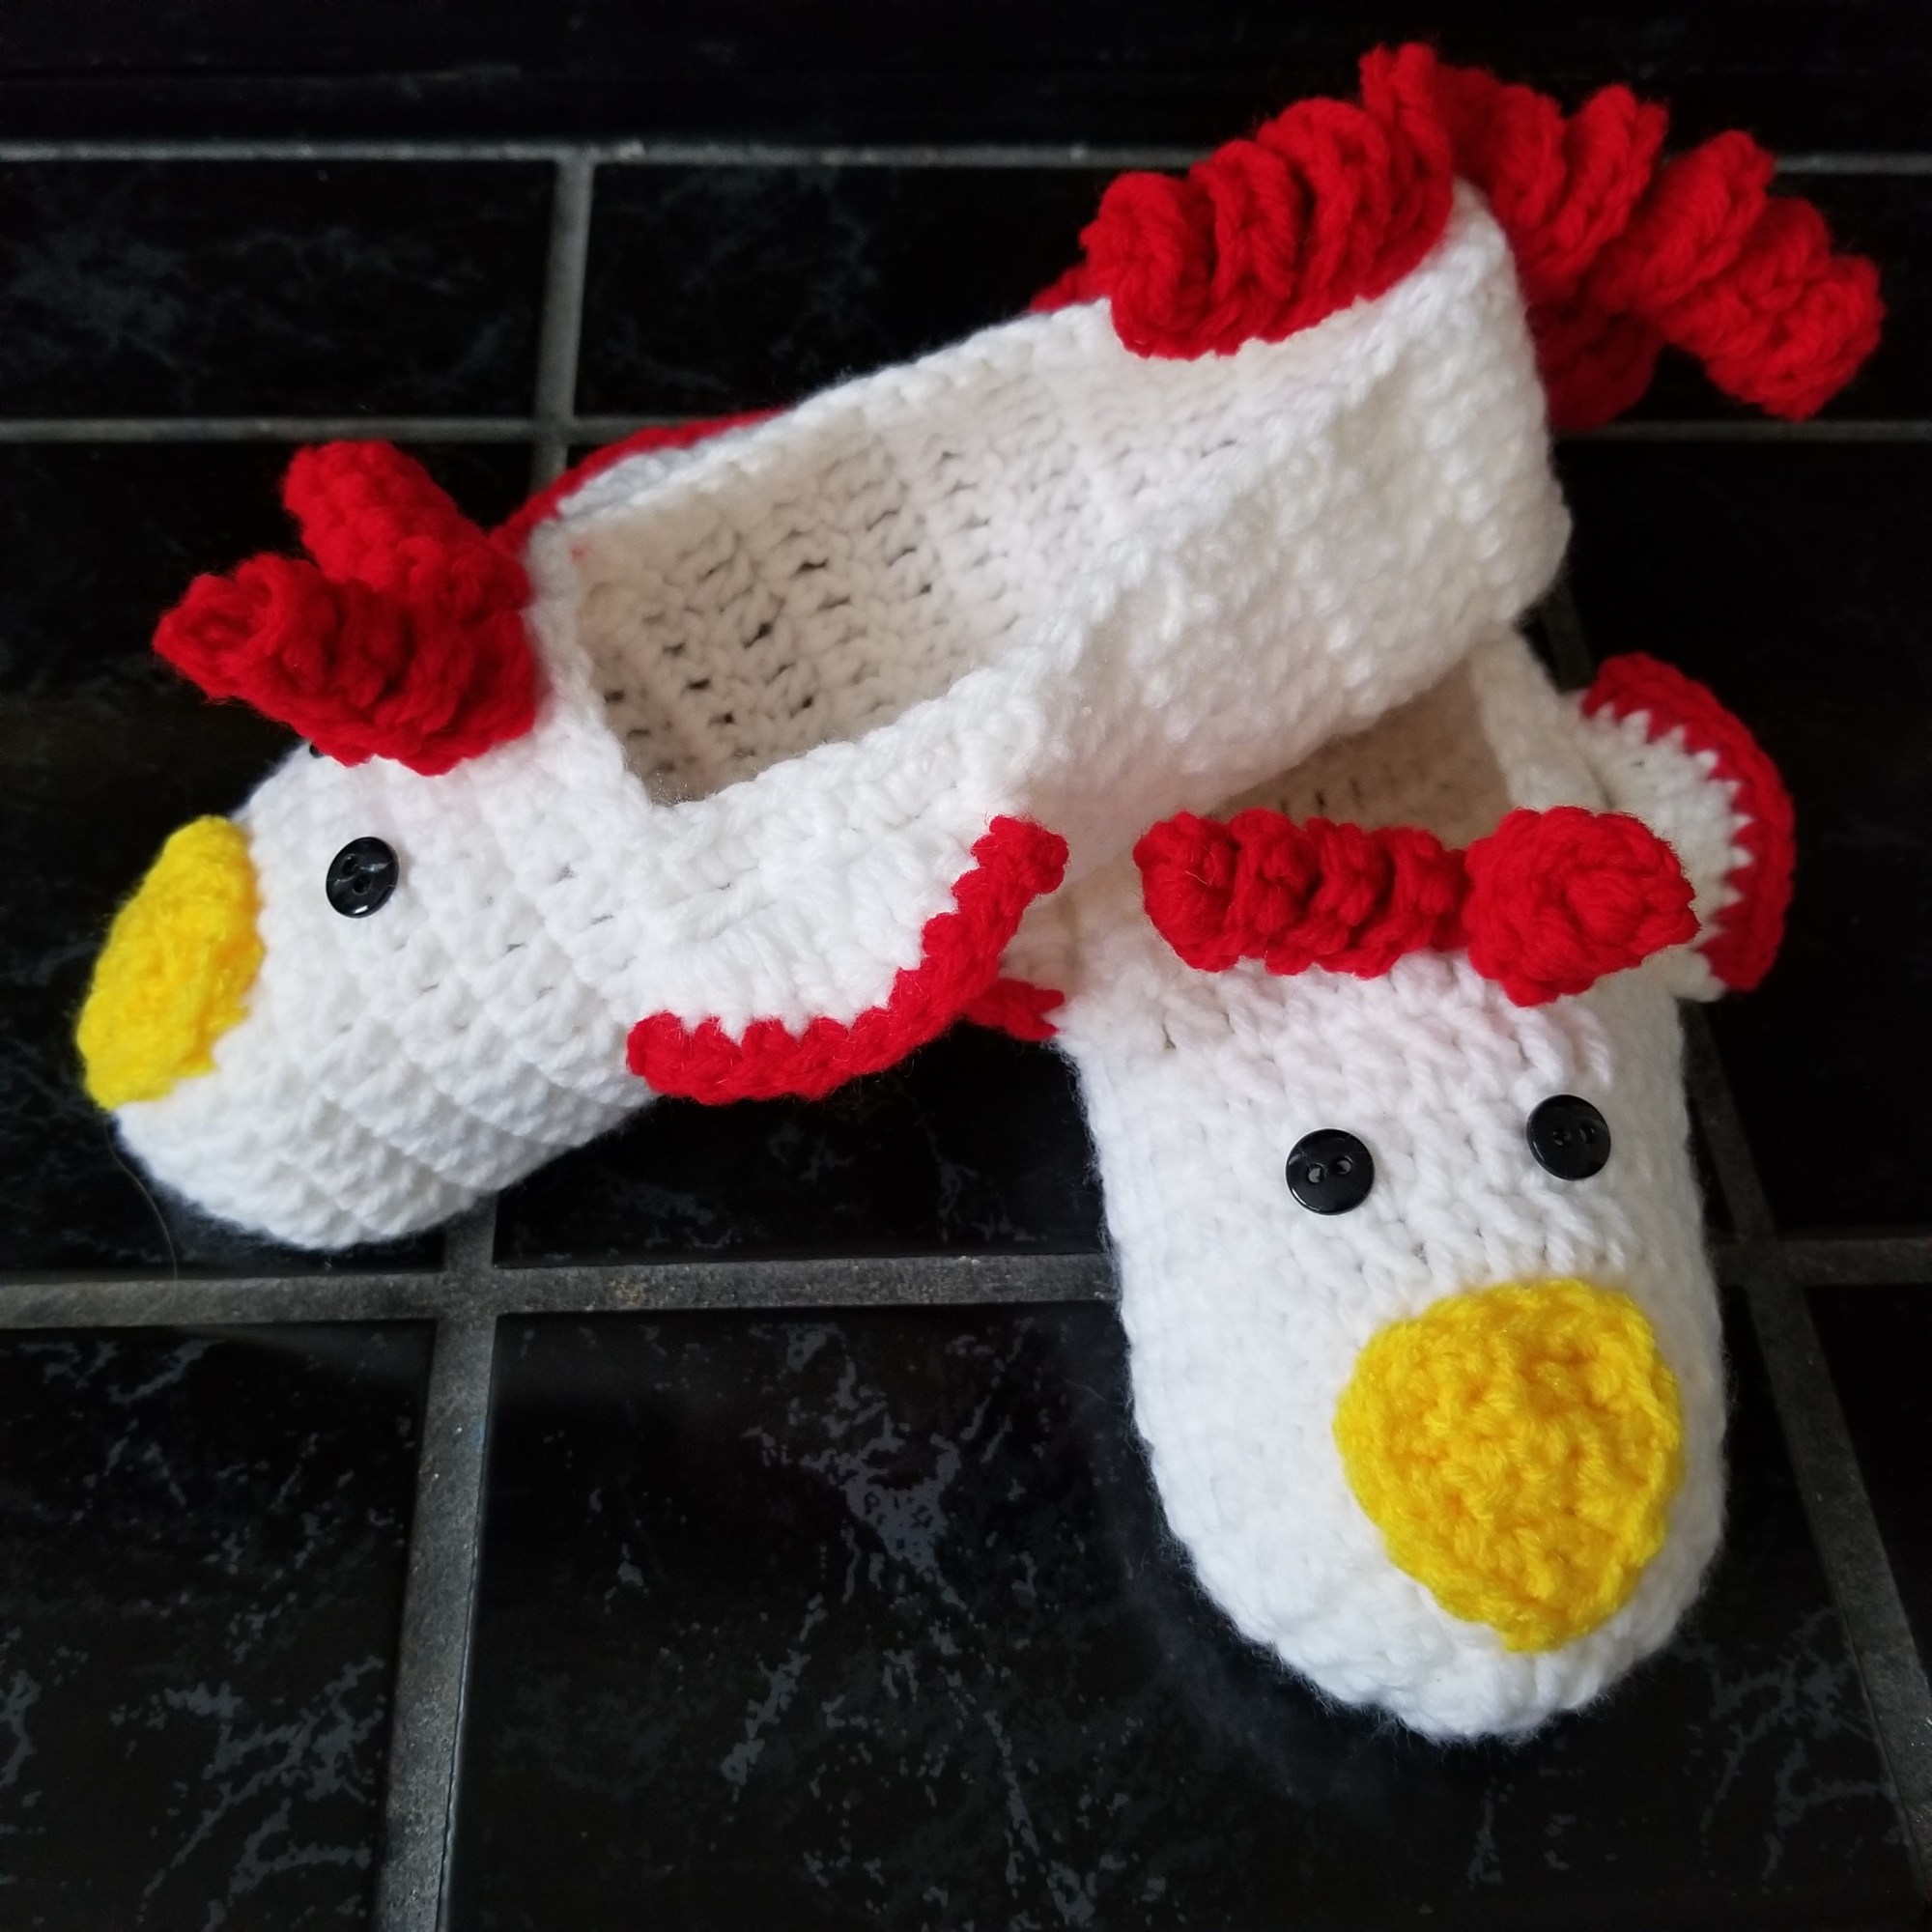
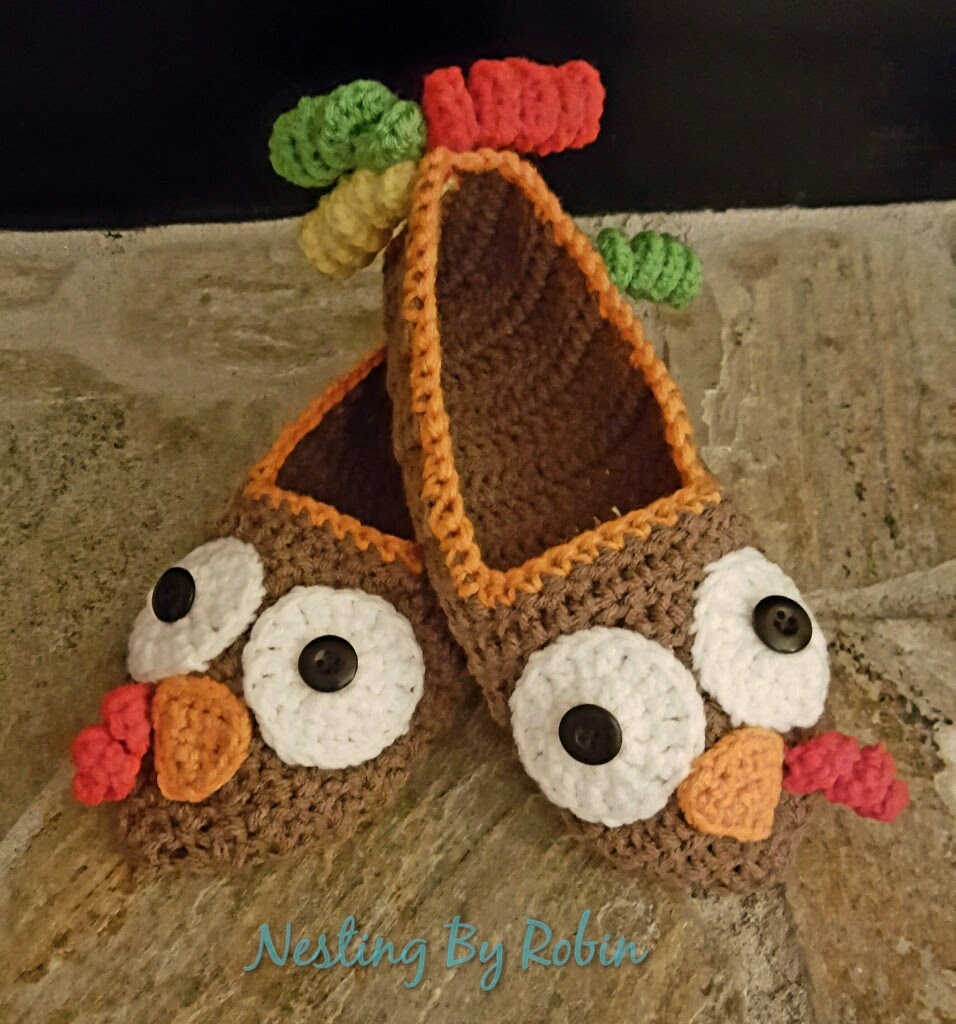
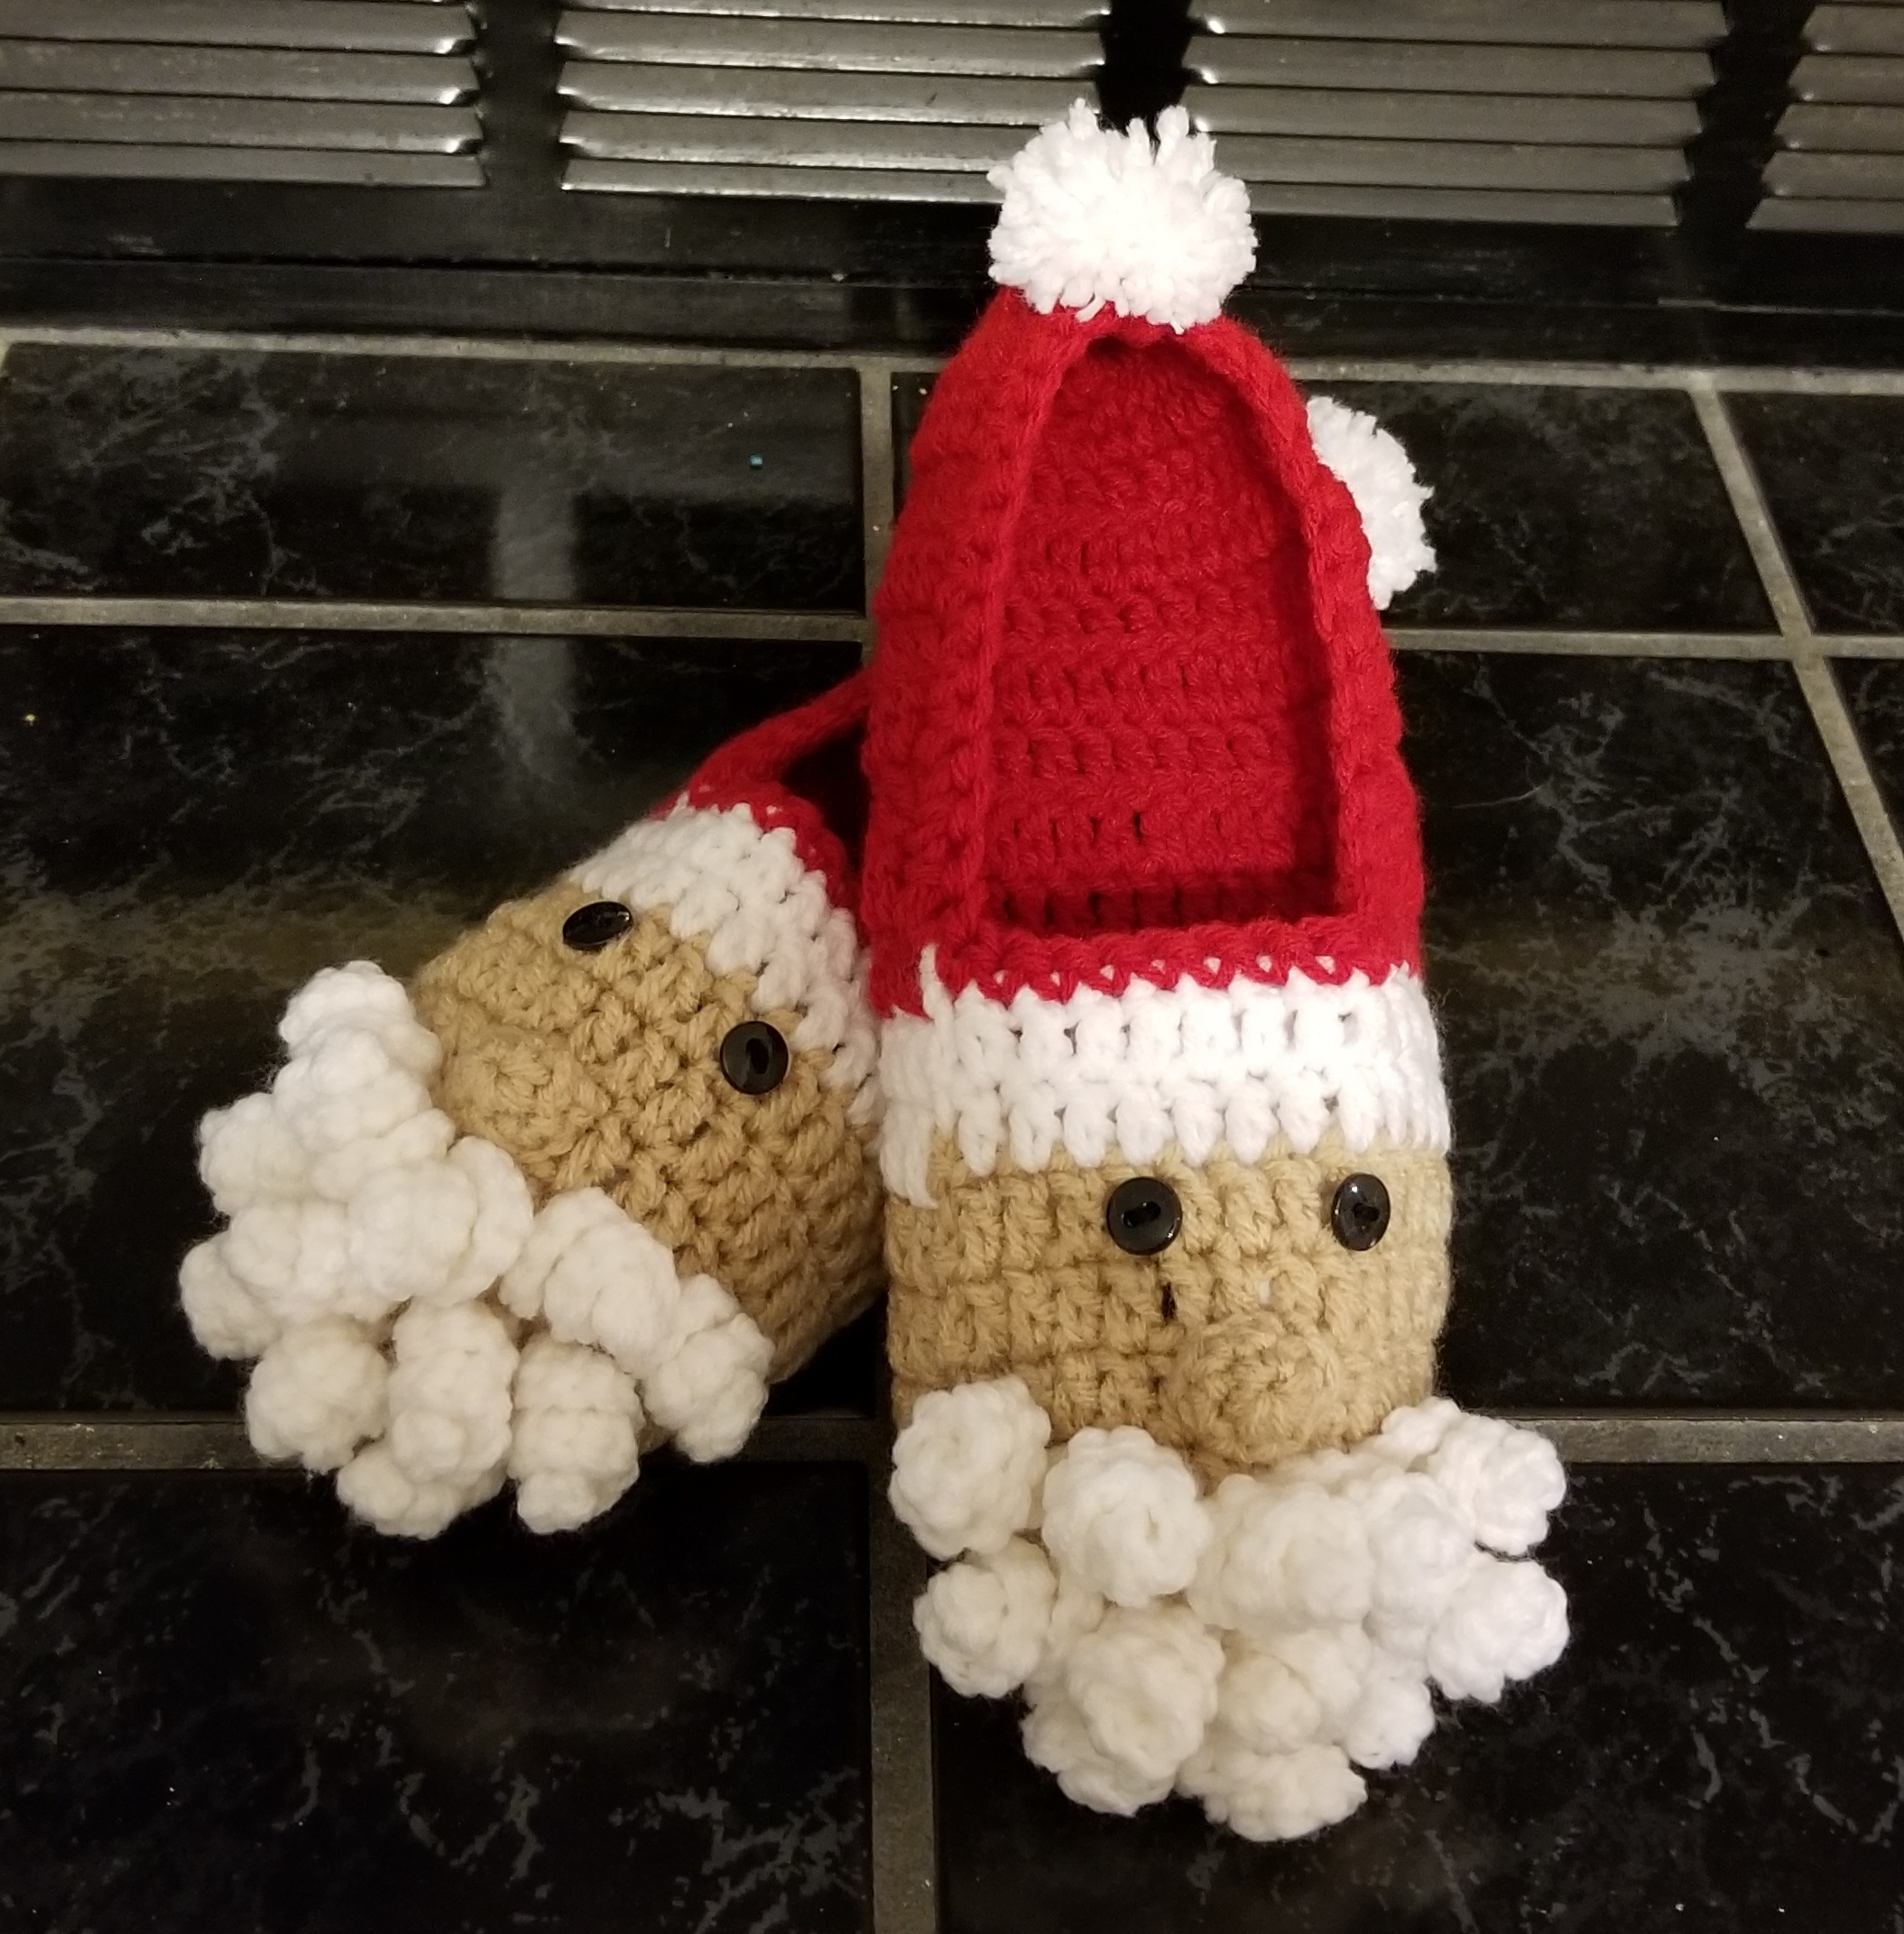
Do you need a gift idea for Christmas? Slippers are the hot items in my Etsy shop. There are Santa, turkey and chicken slippers available. Soon to be added will be Flamingos, ( you can personal message me to custom order).
Thanksgiving Day is going to look a little different for some families this year. I am blessed that my small family will be gathering together to celebrate the holiday and my grandson’s 15th birthday. However, for those who cannot be with their families, we are blessed and thankful that we can still communicate with them.
I was crocheting a pair of turkey slippers one night and thought, what would I do if I could not be with my family? My resolution would be to schedule a family dinner virtually. I would schedule a time for dinner and ask everyone to make their turkey dinner. Then we can all meet on Skype or Facetime and eat together. I would also send a pair of these adorable turkey slippers to every hostess, to show gratitude for putting together a feast for their family.
Yes, things are going to be a little different this year, but we all can remain thankful for our families. Now I think I will phone my brother and sisters and see if they would like to try out my idea.
I love fall, don’t you? I especially love all the colors and smells of fall. When you look outside and see the bright colors of gold, orange and red leaves against a Carolina blue sky, it’s hard not to be inspired to create and decorate your home. Oh, the smells of cinnamon, nutmeg, allspice, ginger and maple syrup in fresh baked goods. Those wonderful smells permeating your home from pumpkin, sweet potato and apple pies. The flavors from pumpkin scones, muffins and sweet bread cannot be missed either.
Did I mention the fall coffee flavors? Let me tell you, I love tea also, but when all of those wonderful special blends of coffee appear in the coffee shops and grocery stores, I believe I am experiencing a little bit of heaven. Pumpkin Spice, Maple Bourbon and Maple Pecan just to name a few. However, my favorite fall flavor is Hot Butter Rum. I am like a child in the candy shop ready to buy my first bag of this delicious treat! The taste of warm butter and rum with a touch of caramelized sugar and vanilla cream…oh my…it just warms the soul. Add a pumpkin scone, sit back and enjoy.
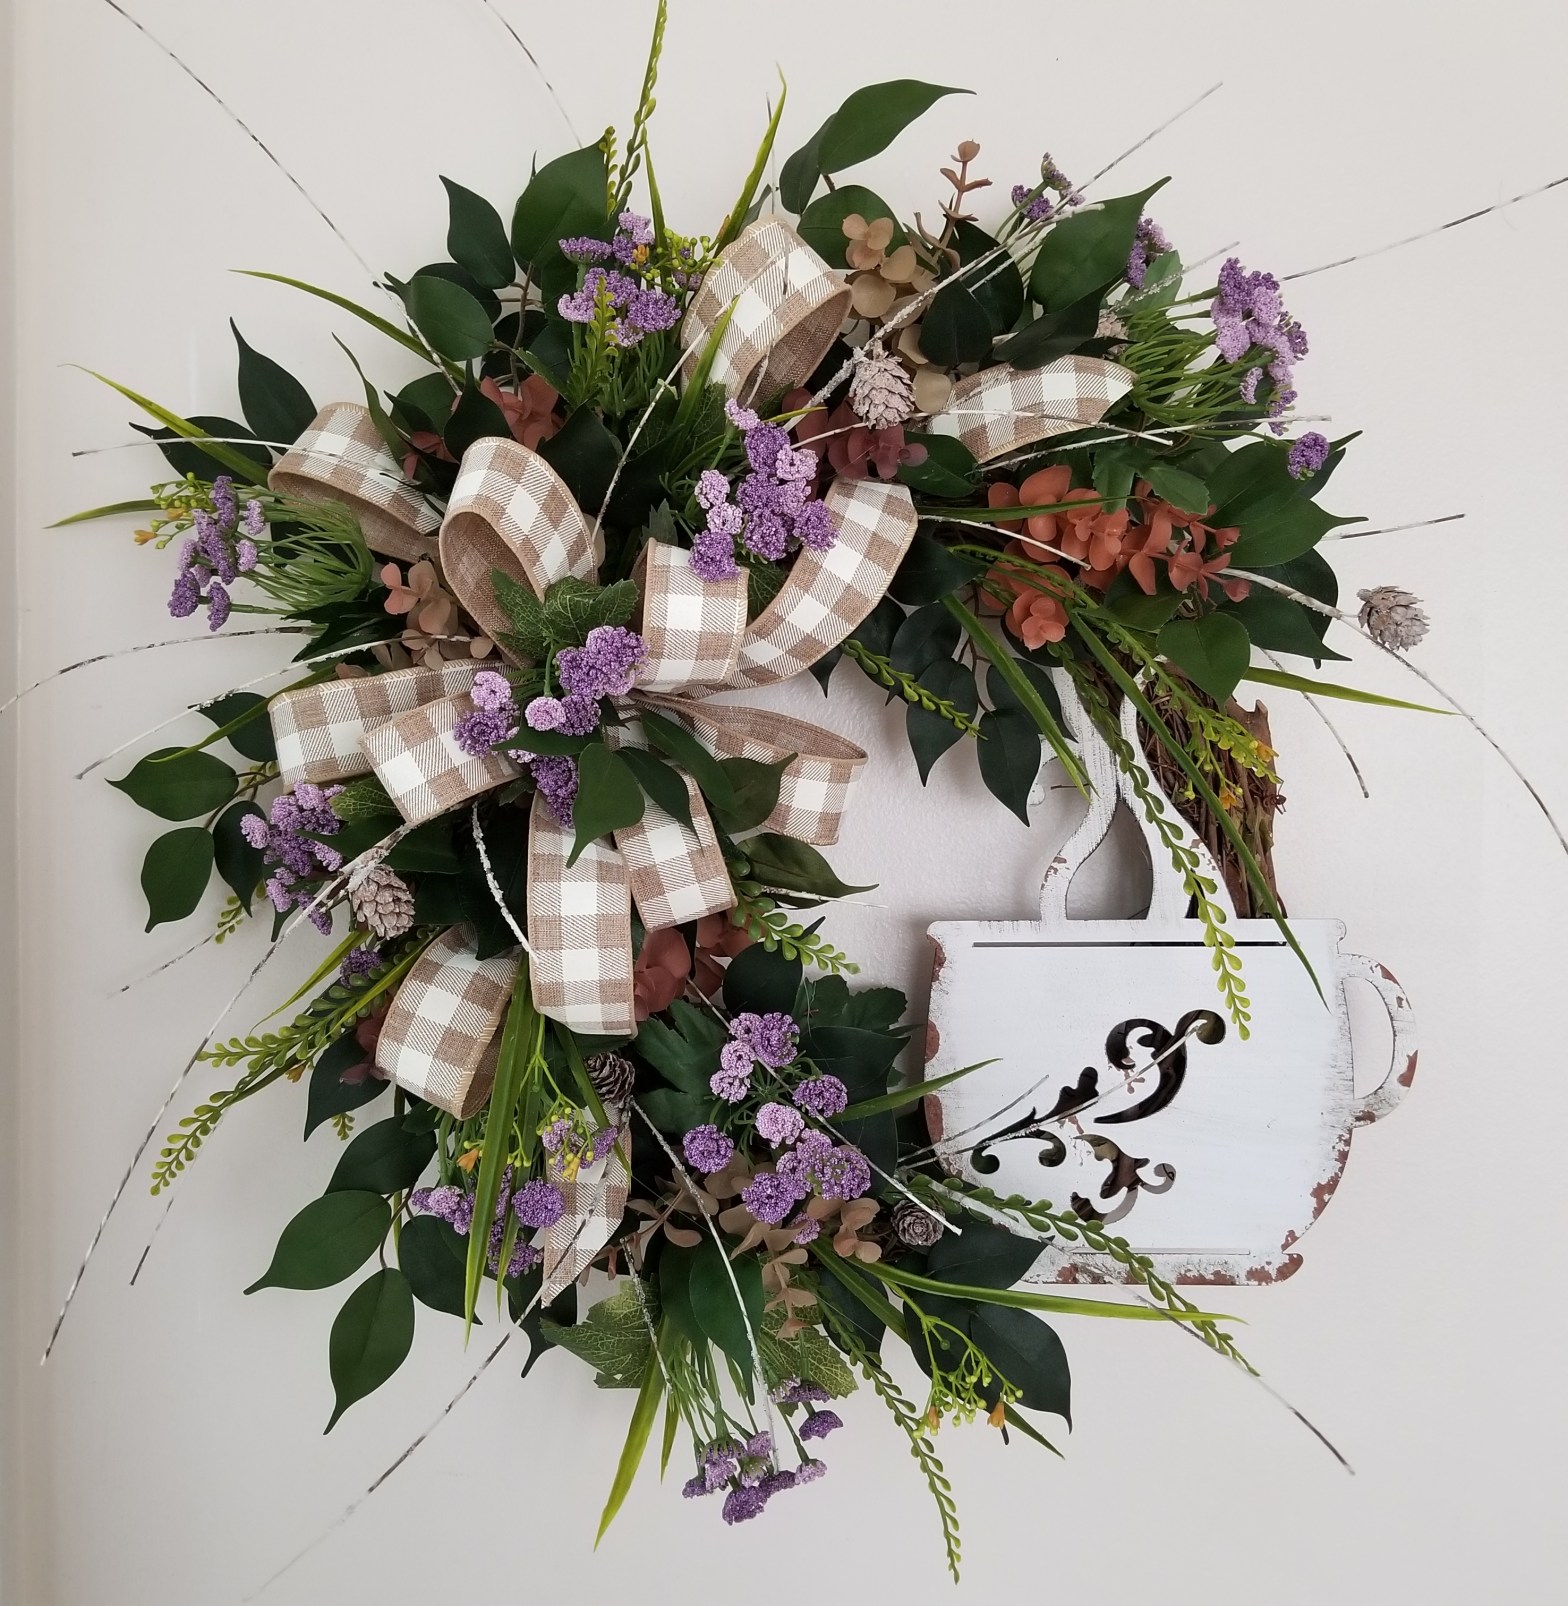
Believe it or not, this is what inspired this month’s featured wreath. It is created with the colors of warm browns, cream, variegated purple florals, birch branches and dark foliage. The focal point…a steaming cup of coffee made of metal. In my mind’s eye, it is a steaming cup of hot butter rum coffee. You will find this small pretty wreath with extra pictures to view in my Etsy shop. The link is below for your convenience.
What are your favorite colors, flavors and smells of fall? I would love to hear from you. You can respond to me here in my website, or email me at nestingbyrobin@yahoo.com.
I hope you are enjoying this beautiful season of fall. Until next time…Robin
Are you ready for a little summer shopping? All spring and summer wreaths are 20% off. Plus they are ready to ship at no extra cost to you. That’s right! Free Shipping!
One of the questions I am asked is where does my inspiration come from when creating. This is a good question. My answer is, multiple places such as memories, traveling, a painting, walking along a river, hiking, or just stumbling across a family heirloom. There are endless opportunities available to bring inspiration to create.
For example this wreath I am highlighting in today’s blog came from a memory of visiting my grandparent’s farm as a child. I loved exploring the barns, riding the tractor through the fields, milking the cows, feeding chickens and riding Granddad’s crazy donkey. I remember during milking time Granddad would sit on his stool. It wasn’t long before the barn cats would come and sit around him. They would just sit waiting for a squirt of milk being shot to them. Best meal ever as they lick their faces and paws! All fun for sure, but my fondest memory was walking to Grandma’s Garden with a basket in hand.
During late spring through fall, Grandma had a roadside stand. Here she would sell her home grown vegetables, fruit, homemade jams, pickles, beets, pumpkin butter and beautiful flowers. She was well known in the county for her garden skills. Believe me Grandma was hard working and very talented. We’ll continue with her story for another time.
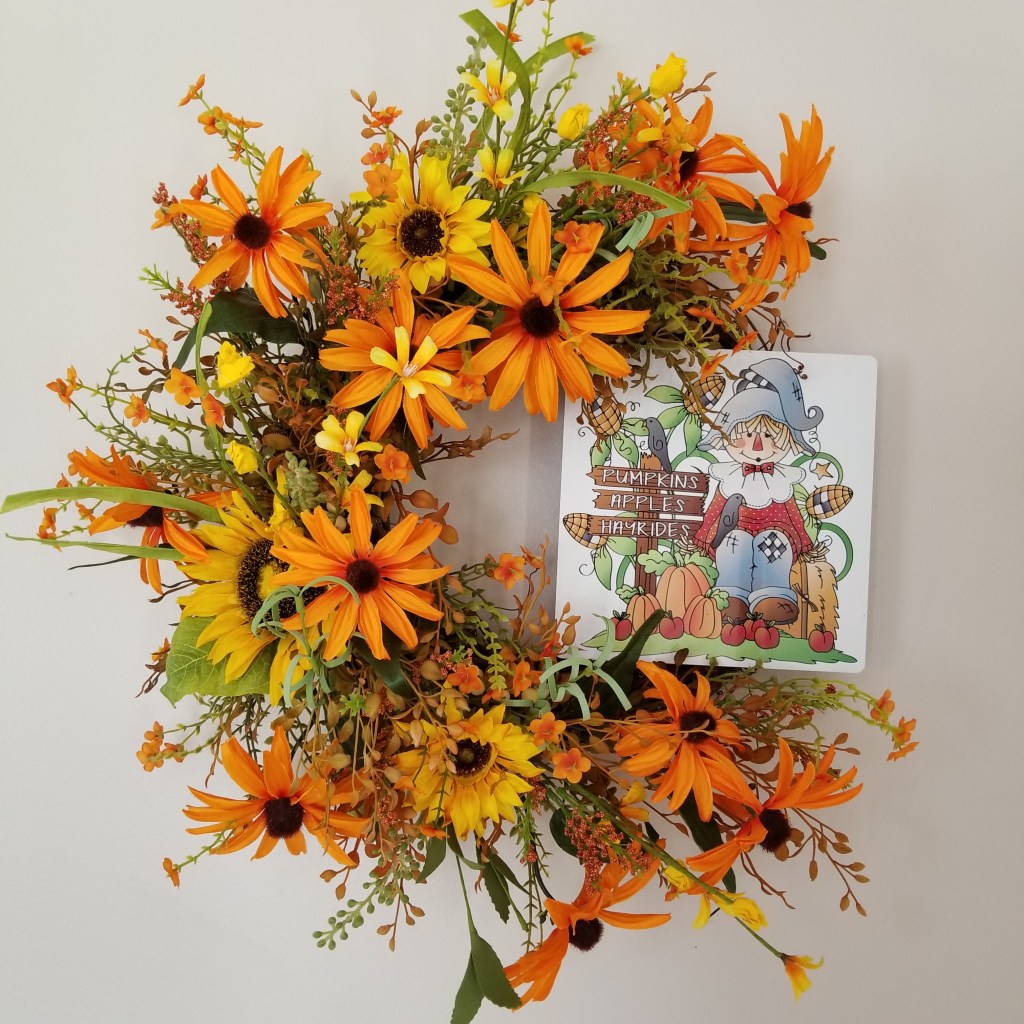
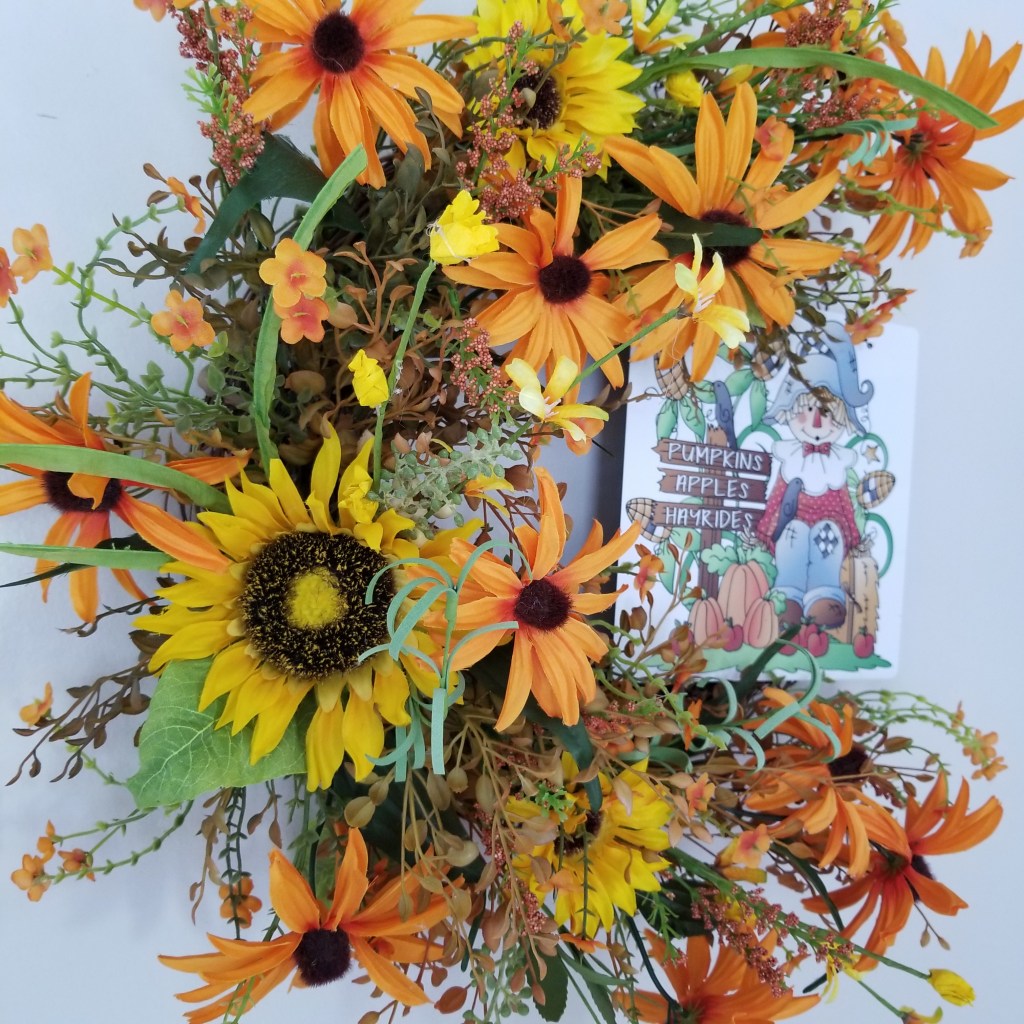
During my visit after early breakfast and dishes done, Grandma and I would walk to her garden It was a jaunt from the farmhouse but once you arrived there was a very large garden that was nestled in front of a row of walnut trees. One half of the garden was filled with every type of vegetable, the other half was filled with beautiful, what she would call “wildflowers”. She created a well tended garden, but oh the wildflowers. They grew wild and free with butterflies, hummingbirds and bees all around them. Hanging on a pole in the middle of the garden watching attentively was a scarecrow made with a pair of Granddad’s denim overalls and a flannel shirt. It was a quiet and peaceful place to wander up and down the rows. We would prune and pick for quite awhile. Then I would hear her say, it was time to head back to the house. There we would wash and package our produce, wrap bouquets of flowers, pack her many jars of goodies in baskets and take all of this to set up at the stand. It wasn’t long after that cars from town and neighbors coming on tractors would line up along the road to shop from her stand until she closed.
My inspiration for this wreath? Grandma’s beautiful garden of wildflowers and the scarecrow watching over her labor of love.